
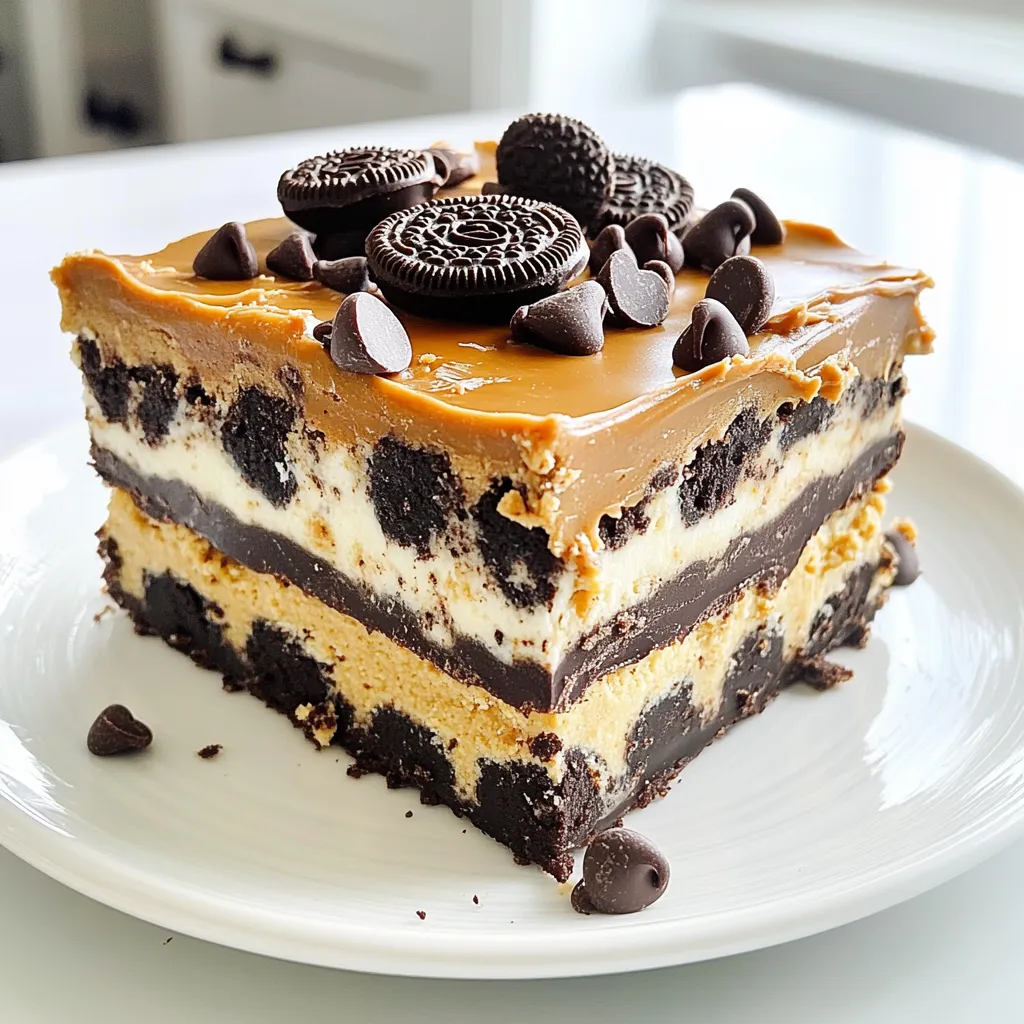
Looking for a treat that’s easy and oh-so-delicious? You’ve found it! No Bake Oreo Peanut Butter Bars are a fun and simple dessert that brings joy to any occasion. With just a handful of ingredients, you’ll create a sweet, creamy, and crunchy delight. Ready to impress your friends and family with a dessert that requires zero baking? Let’s dive into this tasty recipe together!
Why I Love This Recipe
- Easy to Make: This no-bake recipe requires minimal effort and time, making it perfect for quick desserts.
- Delicious Flavor Combination: The mix of Oreos, peanut butter, and chocolate creates a heavenly treat that satisfies any sweet tooth.
- Perfect for Any Occasion: These bars are great for parties, potlucks, or just a cozy night in.
- Customizable: You can easily adapt the recipe by adding nuts, different chocolate types, or other favorite toppings.
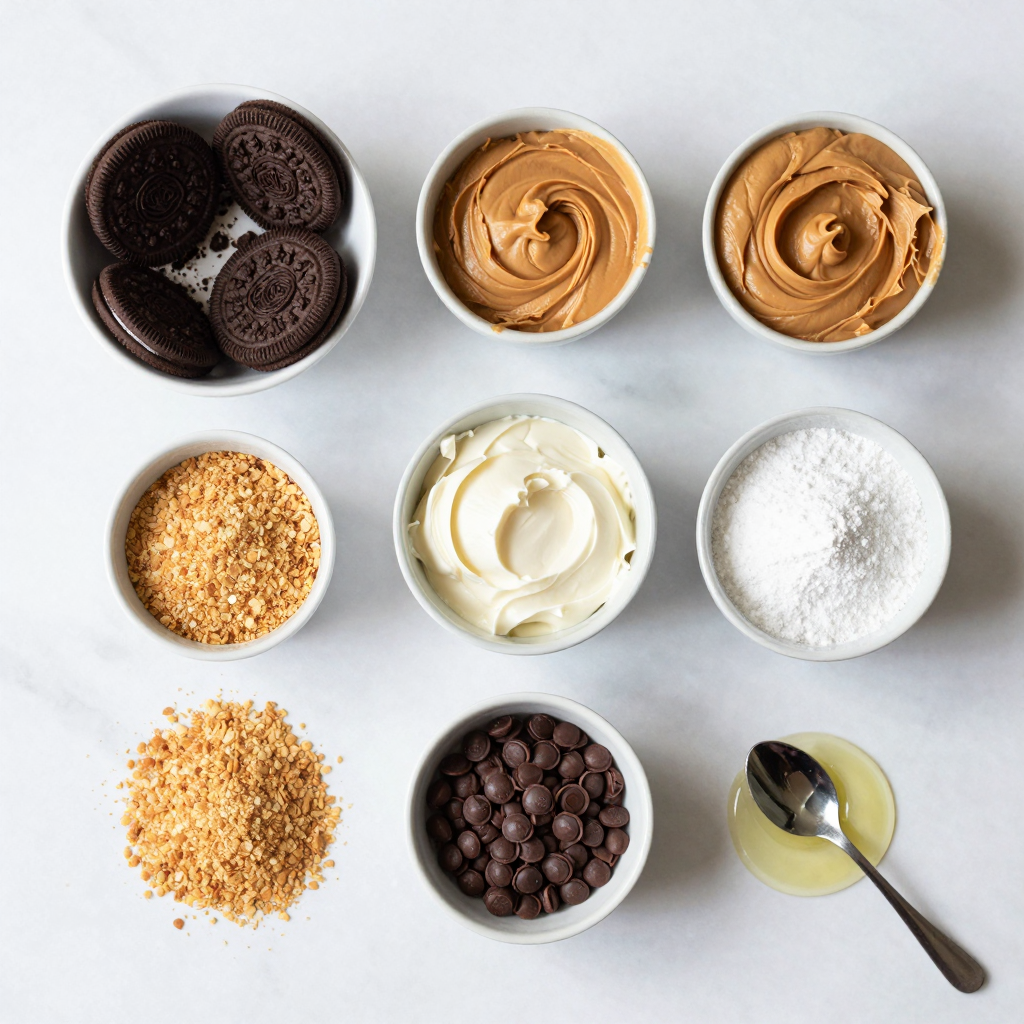
Ingredients
Required Ingredients
– 20 Oreo cookies
– 1 cup peanut butter (creamy or crunchy)
– 1/2 cup softened cream cheese
– 1/2 cup powdered sugar
– 1 cup graham cracker crumbs
– 1 cup chocolate chips (semi-sweet or dark)
– 1 tablespoon coconut oil
The main stars of this recipe are the Oreo cookies and peanut butter. You crush the Oreos into small bits. This gives your bars a rich chocolate flavor and a nice crunch.
Peanut butter adds creaminess and richness. You can choose creamy or crunchy based on your taste. Softened cream cheese helps bind the mixture. It makes the bars smooth and rich.
The powdered sugar adds sweetness. It balances the flavors and enhances the dessert. Graham cracker crumbs give the bars a nice texture. They help hold everything together, making it easy to slice.
Chocolate chips melt beautifully over the top. You can use semi-sweet or dark, depending on your preference. The coconut oil helps melt the chocolate smoothly.
Optional Toppings
– Crushed Oreos
– Additional chocolate chips
– Whipped cream
These toppings add fun and flair to your bars. Crushed Oreos on top give a lovely look and extra crunch. You can also sprinkle more chocolate chips for a chocolatey treat. Whipped cream adds a light, fluffy touch.
Ingredient Substitutions
– Alternatives for peanut butter: sunflower seed butter or almond butter
– Dairy-free options for cream cheese: cashew cream or dairy-free cream cheese
– Sweetener alternatives for powdered sugar: coconut sugar or agave syrup
If you need swaps, there are great options. You can use sunflower seed butter for a nut-free version. Almond butter works well, too. For a dairy-free recipe, try cashew cream or dairy-free cream cheese. You can replace powdered sugar with coconut sugar for a less sweet taste. Agave syrup can also work if you want a liquid sweetener.
Step-by-Step Instructions
Preparation Steps
To start, grab a large mixing bowl. You need to combine the crushed Oreo cookies and peanut butter. Mix them well until they form a thick, sticky blend. Next, add softened cream cheese and powdered sugar. Stir until the mixture is smooth and creamy. The cream cheese gives the bars a nice texture.
Creating the Layer
Now, it’s time to add graham cracker crumbs. This will help to firm up the mixture. Stir them in until you can’t see any dry crumbs. Next, prepare an 8×8 inch baking pan by lining it with parchment paper. Make sure to leave some paper over the edges. This will help you lift the bars out later.
Melting and Spreading the Chocolate
For the chocolate topping, take a small microwave-safe bowl. Combine chocolate chips and coconut oil in it. Heat the bowl in the microwave for 30 seconds at a time. Stir after each time until it melts and becomes smooth. Once melted, pour the chocolate over the pressed layer in the pan. Use a spatula to spread it evenly. Now, you can refrigerate your bars for at least 2 hours. This helps them set and makes them easy to cut.
Pro Tips
- Use Room Temperature Ingredients: Make sure your cream cheese is softened to room temperature for a smoother mixture that blends easily.
- Choose Your Chocolate Wisely: Semi-sweet or dark chocolate can enhance the richness of the bars, so choose according to your taste preference.
- Press Firmly: When pressing the Oreo-peanut butter mixture into the pan, make sure to press down firmly to create a solid base that holds together well.
- Chill Thoroughly: Allow the bars to chill in the refrigerator for a full 2 hours to ensure they set properly and are easy to cut into clean squares.
Tips & Tricks
Achieving the Perfect Texture
To get the best texture in your bars, start with room temperature cream cheese. Cold cream cheese can lead to lumps. Also, mix the peanut butter and crushed Oreos well. This helps create a smooth base. When you add the graham cracker crumbs, stir gently. Avoid over-mixing to keep the mixture thick and creamy.
Serving Suggestions
For a fun touch, garnish your bars with crushed Oreos or extra chocolate chips. They add a nice look and extra flavor. When cutting the bars, use a sharp knife. Wipe the knife between cuts to keep the edges neat. You can serve them on a pretty plate. This makes them look even more tempting.
Troubleshooting Common Issues
If your mixture feels crumbly, add a bit more peanut butter. Mix it in slowly until it holds together. To avoid chocolate seizing when melting, heat it in short bursts. Stir often as it melts. If it does seize, you can add a little more coconut oil. This helps bring it back to a smooth state.
Variations
Flavor Variations
You can change the taste of these bars easily. Try using different cookies. Golden Oreos give a fun twist. They add a rich vanilla flavor that pairs well with peanut butter. You can also use flavored peanut butter. Chocolate or cinnamon peanut butter adds a new layer of taste. This keeps the recipe fresh and exciting every time you make it.
Dietary Adaptations
If you follow a vegan diet, you can still enjoy these bars. Use vegan cream cheese and peanut butter. Replace powdered sugar with a vegan sweetener. For a gluten-free option, choose gluten-free Oreos and graham cracker crumbs. These changes keep the treat tasty while meeting dietary needs.
Presentation Ideas
Make your bars stand out with fun serving ideas. Use a bright platter or a themed plate for special events. You can sprinkle crushed Oreos on top for a playful look. For holidays, use decorations like edible glitter or themed sprinkles. These small touches make your treats fun and inviting for all.
Storage Info
Best Storage Practices
To keep your No Bake Oreo Peanut Butter Bars fresh, store them in the fridge. Use an airtight container. This helps avoid moisture and keeps them from drying out. If you want to save them for later, freezing works well too. Wrap each bar in plastic wrap, then place them in a freezer bag. This way, they stay safe from freezer burn.
Shelf Life
These bars last about one week in the fridge. After that, they may lose their texture and taste. Look for signs like a change in color or a strange smell. If you notice either, it’s best to throw them away.
Reheating Tips
If your frozen bars feel too hard, let them sit at room temperature for about 10 minutes. This softens them nicely. For serving chilled, cut them into squares while they are cold. This helps keep the layers neat and pretty.
FAQs
Can I use other types of cookies?
Yes, you can use other cookies. Golden Oreos or chocolate wafers work well. Feel free to experiment with your favorites. Just ensure they are similar in texture to Oreos for the best results.
How long does it take for the bars to set?
These bars need about 2 hours in the fridge to set. For best results, let them chill longer if possible. This helps the layers firm up and makes cutting easier.
Is it possible to make these bars vegan?
Yes, you can make vegan versions. Use vegan cream cheese and a plant-based butter. Swap the chocolate chips for dairy-free ones. Check the labels to be sure they are vegan-friendly.
What is the nutritional information for these bars?
Each bar has around 150 calories, with 8 grams of fat and 10 grams of sugar. This can vary based on the brands you use. For a precise count, you can input your ingredients into a nutrition calculator.
Can I add nuts or other mix-ins?
Absolutely! Chopped nuts like peanuts or almonds add a nice crunch. You might also try mini marshmallows or dried fruit for added flavor. Just be mindful not to overmix, so the bars hold their shape.
You now know all the steps to make delicious Oreo bars. We covered the key ingredients and how to mix them. I shared tips for great texture and serving ideas. You can even customize your bars with different flavors or dietary needs. Finally, I gave storage tips to keep them fresh. Enjoy making this treat for any occasion and share it with others. Happy baking!


