
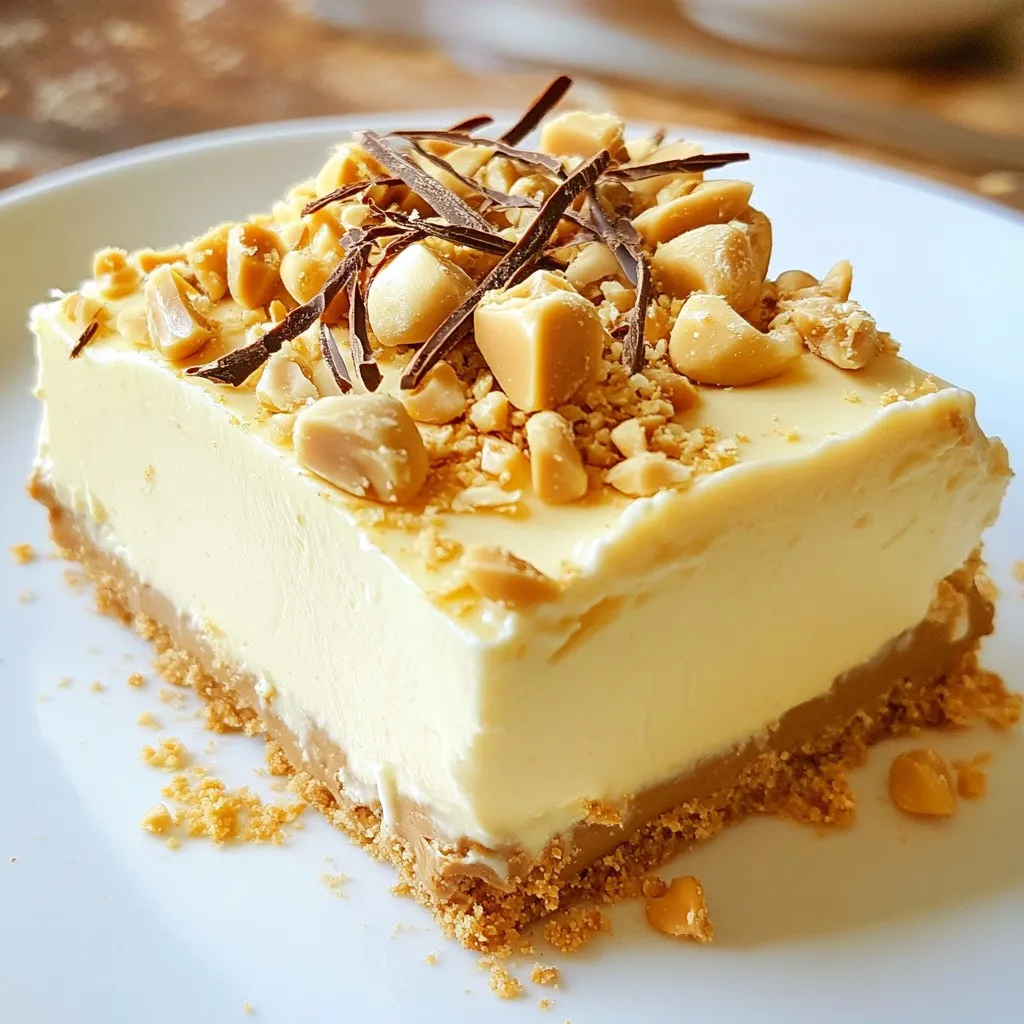
Looking for a quick dessert that’s creamy and delicious? My No-Bake Peanut Butter Cheesecake is the perfect treat! It combines rich flavors with an easy recipe that anyone can master. In this post, I’ll share all the ingredients, step-by-step instructions, and even tips to make it perfect. Whether you want to impress guests or just enjoy a sweet bite, this cheesecake is for you! Let’s dive in!
Why I Love This Recipe
- No-Bake Delight: This cheesecake is incredibly easy to make, requiring no baking, which means less time in the kitchen and more time enjoying dessert!
- Rich and Creamy: The combination of peanut butter and cream cheese creates a rich and creamy texture that melts in your mouth.
- Customizable Toppings: You can easily customize this cheesecake with your favorite toppings, whether it’s chocolate shavings, crushed peanuts, or even a drizzle of caramel.
- Perfect for Any Occasion: This dessert is great for parties, family gatherings, or simply a sweet treat after dinner!
Ingredients
Detailed Ingredient List
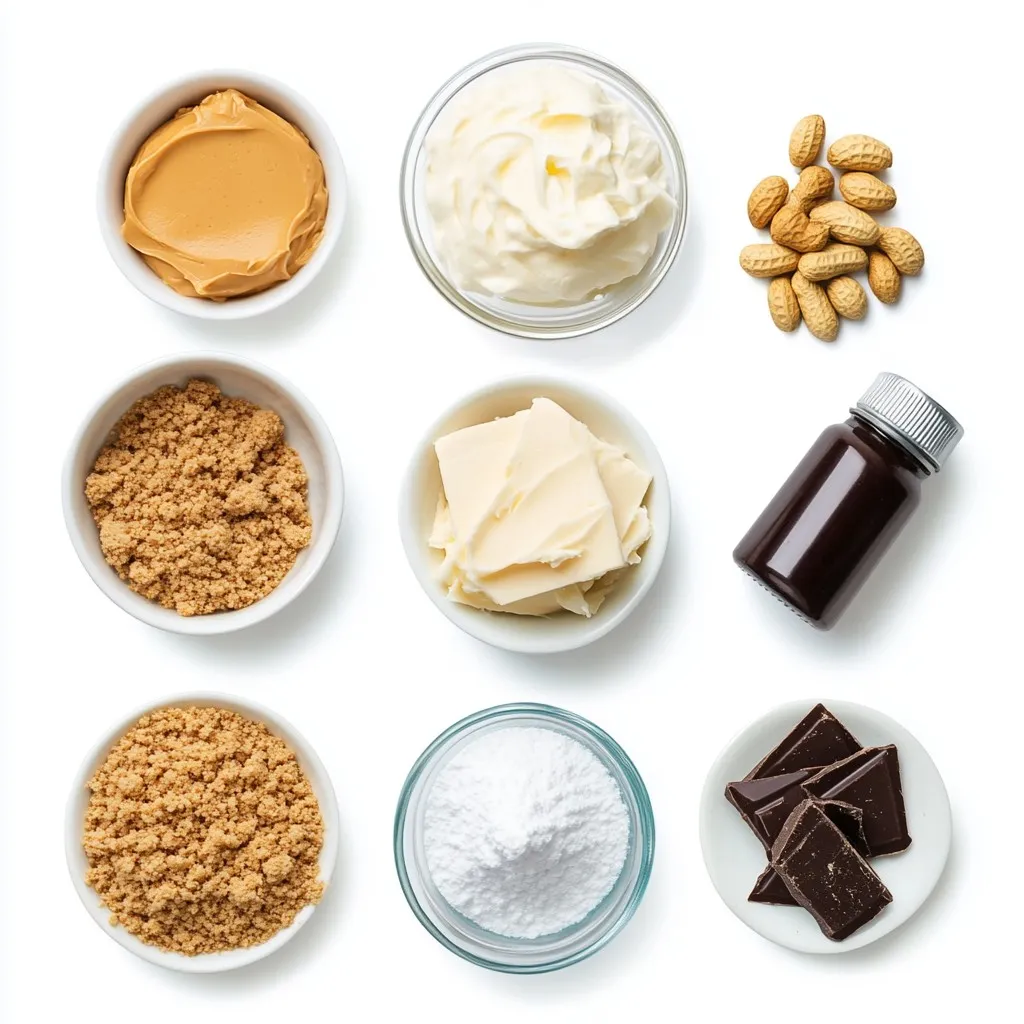
To make a delicious no-bake peanut butter cheesecake, you need the following:
– 1 ½ cups graham cracker crumbs
– ½ cup unsalted butter, melted
– 1 cup creamy peanut butter
– 1 cup cream cheese, softened
– 1 cup powdered sugar
– 1 teaspoon vanilla extract
– 1 cup heavy whipped cream
– Pinch of salt
– Chocolate shavings or crushed peanuts for garnish (optional)
Measurements and Substitutions
You can swap some ingredients if needed. For the graham cracker crumbs, use digestive biscuits instead. If you want a healthier option, try almond butter in place of peanut butter. For a dairy-free version, use vegan cream cheese. You can also use coconut cream instead of heavy cream for a lighter touch.
Optional Garnishes
Garnishes add a nice touch to your cheesecake. I love using chocolate shavings or crushed peanuts. They add flavor and a nice crunch. You could also drizzle some chocolate sauce over the top. Fresh whipped cream is another great option for those who enjoy extra creaminess.
Step-by-Step Instructions
Preparation of the Graham Cracker Crust
To make the crust, grab a medium bowl. Add 1 ½ cups of graham cracker crumbs. Pour in ½ cup of melted unsalted butter. Mix it well until the crumbs look coated. Next, take a 9-inch springform pan. Press the crumb mixture firmly into the bottom. Make sure it is even and flat. Then, place the pan in the refrigerator. Let it chill while you make the filling. This helps the crust hold its shape later.
Making the Peanut Butter Filling
Now, let’s move on to the filling. Take a large mixing bowl. Beat 1 cup of softened cream cheese with an electric mixer. Mix it until smooth and creamy. Next, add 1 cup of creamy peanut butter to the bowl. Then, add 1 cup of powdered sugar and 1 teaspoon of vanilla extract. Don’t forget a pinch of salt! Mix everything until it combines smoothly. In a separate bowl, whip 1 cup of heavy cream. Beat it until stiff peaks form. Gently fold the whipped cream into the peanut butter mixture. Be careful not to deflate it. Fold until just combined for a light, creamy filling.
Assembling and Refrigerating the Cheesecake
Now it’s time to assemble! Take the crust from the fridge. Pour the peanut butter filling over the crust. Use a spatula to smooth the top. Cover the springform pan with plastic wrap. Place it in the refrigerator for at least 4 hours. This step is key for the cheesecake to set. Once it is firm, carefully release the springform pan. Transfer the cheesecake to a serving plate. If you like, garnish with chocolate shavings or crushed peanuts. Now, it’s ready to enjoy!
Tips & Tricks
Achieving the Perfect Texture
To get the right texture for your cheesecake, keep these steps in mind:
– Softening Ingredients: Make sure your cream cheese is at room temperature. This helps it blend smoothly with the peanut butter.
– Whipping Cream: When you whip the heavy cream, aim for stiff peaks. This step adds fluffiness.
– Gentle Folding: Carefully fold the whipped cream into the peanut butter mix. This keeps it light and airy.
Flavor Enhancements
You can boost the flavor of your cheesecake with a few easy tricks:
– Salt: A pinch of salt brings out the peanut butter taste.
– Vanilla: Use pure vanilla extract for a richer flavor.
– Garnishes: Top with chocolate shavings or crushed peanuts for extra taste and crunch.
Common Mistakes to Avoid
Here are some common mistakes I see often:
– Skipping Chilling Time: Do not rush the chilling step. The cheesecake needs time to set.
– Overmixing: Avoid overmixing the filling once you add the whipped cream. This can make it dense.
– Not Pressing Crust Firmly: Press the graham cracker crust firmly. A weak crust can crumble easily when served.
These tips and tricks will help you create a no-bake peanut butter cheesecake that is creamy, smooth, and full of flavor.
Pro Tips
- Chill the Mixing Bowl: For an even fluffier whipped cream, chill your mixing bowl and beaters in the refrigerator for about 15 minutes before whipping the cream.
- Use Room Temperature Ingredients: Ensure your cream cheese and peanut butter are at room temperature for easier blending and a smoother cheesecake filling.
- Don’t Overmix: Gently fold the whipped cream into the peanut butter mixture until just combined to maintain the light and airy texture of the cheesecake.
- Garnishing Ideas: For added flavor and texture, consider garnishing with a drizzle of chocolate sauce, a sprinkle of sea salt, or fresh fruit alongside the chocolate shavings or crushed peanuts.
Variations
Swapping Peanut Butter for Other Nut Butters
You can swap peanut butter for other nut butters. Almond butter gives a nice taste. Cashew butter adds a creamy texture. Sunflower seed butter is a great option for nut allergies. Each nut butter brings a unique flavor. Just use the same amount as peanut butter.
Adding Chocolate or Caramel Swirls
Adding chocolate or caramel swirls can make your cheesecake even better. To do this, melt chocolate or caramel. After you mix the cheesecake filling, drizzle in the melted treat. Then, gently swirl it with a knife. This adds fun flavors and a pretty look. You can use store-bought sauce or make your own.
Creating a Vegan Version
To make a vegan version, swap out the dairy ingredients. Use vegan cream cheese and coconut cream instead of heavy cream. For sweetener, use maple syrup or agave instead of powdered sugar. This keeps it creamy and delicious. Just follow the same steps to mix and chill. It will taste amazing!
Storage Info
Best Practices for Refrigeration
You should always store your no-bake peanut butter cheesecake in the fridge. Use an airtight container or cover it well with plastic wrap. This keeps it fresh and prevents any strong smells from the fridge from getting in. Make sure it is fully set before you cover it. This usually takes about four hours.
Freezing Instructions
If you want to keep your cheesecake longer, you can freeze it. First, let it set in the fridge. Once it’s firm, wrap it well in plastic wrap, then in foil. This will help prevent freezer burn. You can freeze it for up to three months. When you are ready to enjoy it, let it thaw in the fridge overnight.
How Long Will It Last?
In the fridge, your cheesecake stays fresh for about five days. If you freeze it, you can keep it for up to three months. Always check for any signs of spoilage before eating, like changes in texture or smell.
FAQs
Can I use natural peanut butter in this recipe?
Yes, you can use natural peanut butter. Natural peanut butter has less sugar and oil. It gives a more authentic peanut flavor. Just make sure to stir it well before using. This keeps it well mixed and creamy.
How do I know when the cheesecake is set?
The cheesecake is set when it feels firm to the touch. You can gently press the top with your finger. If it springs back, it’s ready. The edges should look firm, while the center may be a bit soft. Chill it for at least four hours to ensure it sets well.
Can I make this cheesecake ahead of time?
Absolutely! This cheesecake is perfect for making ahead. You can prepare it one or two days before serving. Just keep it in the fridge. This allows the flavors to blend well.
What can I substitute for cream cheese?
If you want a different base, you can use Greek yogurt. It gives a nice tangy flavor and creamy texture. Silken tofu is also a great vegan option. Blend it until smooth for the best results.
Is it possible to add toppings before serving?
Yes, you can add toppings before serving. Chocolate shavings, crushed peanuts, or whipped cream make great choices. Just wait until the cheesecake is set. This way, the toppings stay fresh and look nice.
This blog post covered how to make a delicious peanut butter cheesecake. We looked at the ingredients, step-by-step instructions, and tips to ensure success. You learned about alternatives to enhance flavors and create variations.
In the end, enjoy this recipe your way. Feel free to make it your own. With practice, you’ll impress friends and famil


