
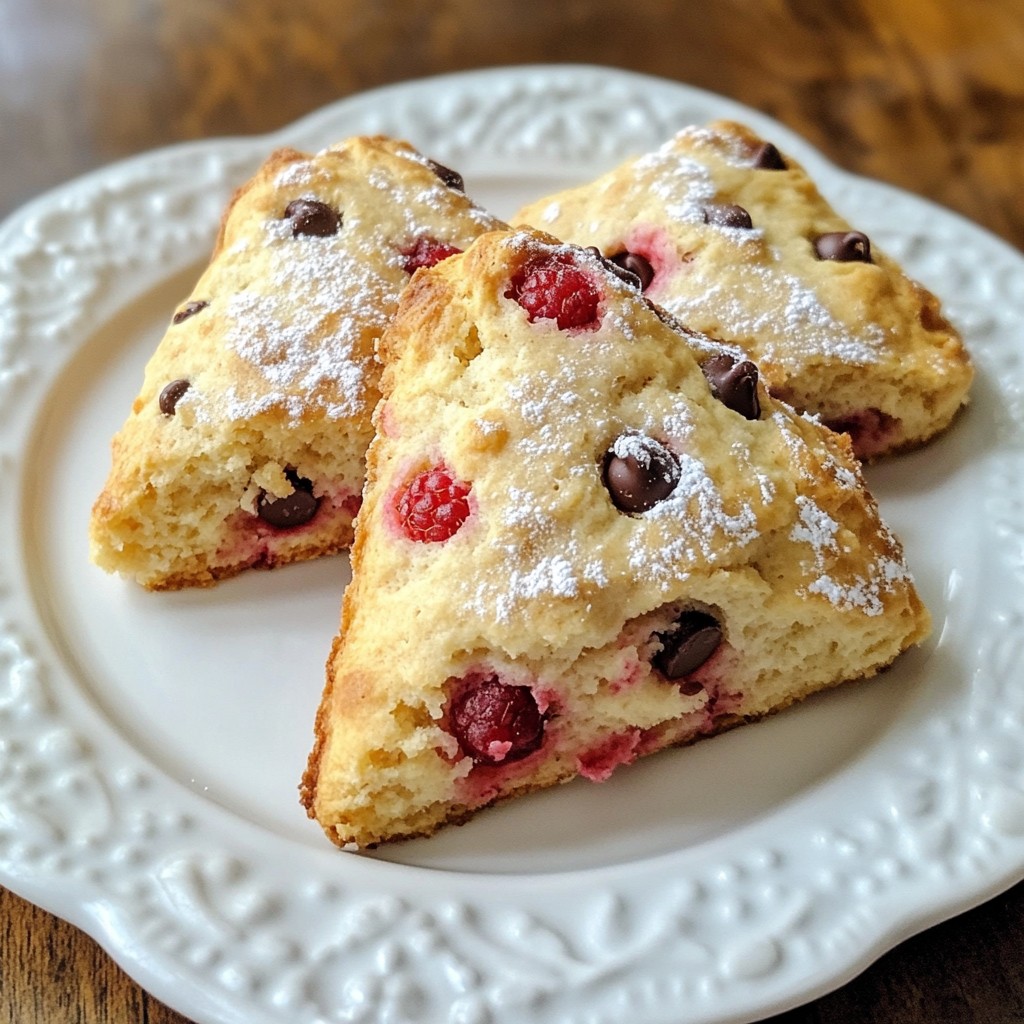
Get ready for a sweet treat! Raspberry Chocolate Chip Scones are a delightful way to start your day. I’ll guide you step by step to make these soft, buttery scones. You will love the burst of raspberries and rich chocolate in every bite. Follow my tips and tricks to ensure your scones turn out perfect every time. Let’s dive into this fun baking adventure together!
Why I Love This Recipe
- Delicious Flavor Combination: The pairing of fresh raspberries and semi-sweet chocolate creates a delightful blend of tart and sweet that is irresistible.
- Easy to Make: This scone recipe is simple and quick, making it perfect for both novice and experienced bakers.
- Perfect for Any Occasion: These scones are ideal for breakfast, brunch, or even as a sweet treat with afternoon tea.
- Customizable: You can easily swap in different fruits or chocolates to suit your taste or seasonal availability.
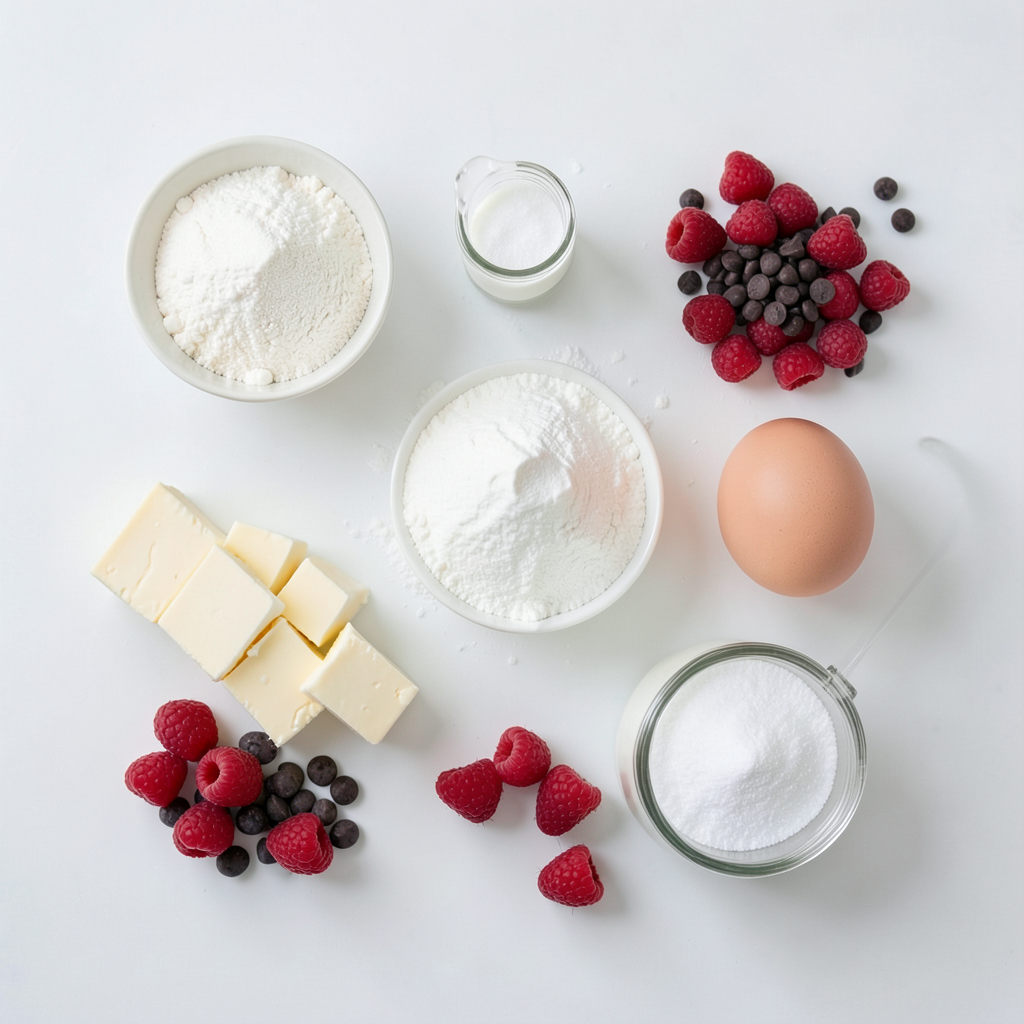
Ingredients
List of Ingredients
- 2 cups all-purpose flour
- 1/3 cup granulated sugar
- 1 tablespoon baking powder
- 1/2 teaspoon salt
- 1/2 cup unsalted butter, cold and cubed
- 1/2 cup heavy cream
- 1 large egg
- 1 teaspoon vanilla extract
- 1 cup fresh raspberries
- 1/2 cup semi-sweet chocolate chips
- 1 tablespoon milk (for brushing)
- Optional: coarse sugar for topping
Measurements & Substitutions
For this scone recipe, using the right amount of each ingredient is key. If you don’t have all-purpose flour, you can use whole wheat flour. This will change the taste a bit, but it will still be good. If you want a dairy-free option, substitute the butter with coconut oil and the cream with coconut cream. You can use almond milk in place of heavy cream, too.
Optional Add-Ons
You can add a few fun extras to your scones. Try adding nuts like walnuts or pecans for some crunch. You can also add a bit of lemon zest for a fresh taste. If you want a twist, swap the raspberries for blueberries or strawberries. Each choice will give a new flavor to the scones. Enjoy experimenting!
Step-by-Step Instructions
Preparation Steps
Start by gathering all your ingredients. You need:
- 2 cups all-purpose flour
- 1/3 cup granulated sugar
- 1 tablespoon baking powder
- 1/2 teaspoon salt
- 1/2 cup unsalted butter, cold and cubed
- 1/2 cup heavy cream
- 1 large egg
- 1 teaspoon vanilla extract
- 1 cup fresh raspberries
- 1/2 cup semi-sweet chocolate chips
- 1 tablespoon milk (for brushing)
- Optional: coarse sugar for topping
Preheat your oven to 400°F (200°C). Line a baking sheet with parchment paper. In a large bowl, mix the flour, sugar, baking powder, and salt. Next, add the cold butter. Use a pastry cutter or your fingers to mix until it looks like coarse crumbs.
In a different bowl, whisk the heavy cream, egg, and vanilla extract until mixed. Pour this into the flour mix. Stir gently until just combined. Be careful not to overmix.
Now, fold in the raspberries and chocolate chips. Make sure they spread out but do not crush the raspberries.
Baking Process
Turn the dough onto a floured surface. Shape it into a circle about 1-inch thick. Cut the circle into 8 wedges. Place your scones on the prepared baking sheet. Brush the tops with milk and sprinkle with coarse sugar if you want.
Bake for 15-20 minutes. Watch for a golden brown color.
Cooling and Serving
Once baked, take the scones out of the oven. Let them cool slightly on the baking sheet. Serve them warm on a wooden board or cake stand. Add a few fresh raspberries and a sprinkle of powdered sugar for an elegant touch. Enjoy your delightful scones!
Tips & Tricks
How to Perfect Your Scones
To make the best scones, keep your butter cold. Cold butter gives a flaky texture. Use a pastry cutter or your fingers to mix it into the flour. This step is key. Mix just until you see coarse crumbs. Overmixing can lead to tough scones. When adding the wet ingredients, mix gently. You want to keep the raspberries whole for bursts of flavor. Shape the dough quickly, and don’t let it sit too long.
Common Mistakes to Avoid
One common mistake is not measuring your flour right. Too much flour can make your scones dry. Use the spoon and level method for accuracy. Another pitfall is overbaking. Keep an eye on the scones. They should be golden brown, not dark. Lastly, avoid skipping the cooling time. Letting them cool slightly helps the flavors meld.
Best Practices for Flavor Enhancement
For better flavor, use fresh raspberries when possible. They add a burst of sweetness and tartness. Adding a touch of lemon zest can brighten the taste. If you love chocolate, try using dark chocolate chips. They pair well with the raspberries. Lastly, sprinkle coarse sugar on top before baking for a sweet crust. This little step adds a lovely crunch.
Pro Tips
- Use Cold Butter: Using cold butter helps create a flaky texture. Cut the butter into the flour quickly to avoid warming it up.
- Don’t Overmix: Gently mix the ingredients until just combined. Overmixing can lead to tough scones.
- Fresh Raspberries: For the best flavor, use fresh raspberries. They add a burst of sweetness and tartness to each bite.
- Storing Scones: Keep leftover scones in an airtight container at room temperature for up to 2 days, or freeze for longer storage.
Variations
Flavor Alternatives
You can switch up the flavor of your scones easily. Try mixed berries like blueberries or strawberries. These fruits add a burst of color and taste. You can also use nuts, like chopped walnuts or pecans. They add a nice crunch. If you want a tropical twist, use diced mango or pineapple for a fun change.
Dietary Adjustments
If you need gluten-free scones, swap the all-purpose flour for a gluten-free blend. Make sure it includes xanthan gum for the right texture. For a dairy-free version, replace the butter with coconut oil or vegan butter. Use almond milk instead of heavy cream. These options keep the scones soft and tasty without dairy.
Seasonal Twists
Celebrate the seasons with fun flavors. For fall, try pumpkin spice scones by adding pumpkin puree and spices like cinnamon and nutmeg. In winter, use peppermint extract and chocolate chips for a festive treat. For spring, consider lemon zest and blueberries for a fresh touch. Each season brings a new reason to enjoy these scones!
Storage Info
How to Store Leftover Scones
To keep your leftover scones fresh, place them in an airtight container. This helps prevent them from drying out. You can store them at room temperature for up to two days. If you want them to last longer, consider refrigerating them. Just ensure they are wrapped well to avoid absorbing odors.
Freezing Instructions
Freezing scones is a great way to enjoy them later. To freeze, let them cool completely after baking. Then, wrap each scone in plastic wrap. Place the wrapped scones in a freezer bag. Make sure to remove as much air as possible. You can freeze them for up to three months. When you’re ready to eat, just thaw them at room temperature.
Reheating Tips
Reheating scones is easy. You can use an oven or a microwave. For the oven, preheat it to 350°F (175°C). Place the scones on a baking sheet and heat for about 10 minutes. This keeps them crispy on the outside. If you use a microwave, heat them for 10-15 seconds. Be careful not to overheat them, or they may get tough. Enjoy your warm scones again!
FAQs
Can I use frozen raspberries?
Yes, you can use frozen raspberries. They work well in this recipe. Just make sure to add them directly from the freezer. Do not thaw them first. This keeps the texture nice. Frozen raspberries may bleed more juice, so handle them gently.
What is the best way to know if my scones are done?
Check for color and texture. The scones should be golden brown on top. You can also use a toothpick to test. Insert it into the center of a scone. If it comes out clean, the scones are ready. If it has wet dough on it, bake a few more minutes.
How can I make the scones less sweet?
To make the scones less sweet, cut back on the sugar. You can reduce the granulated sugar from 1/3 cup to 1/4 cup. Another option is to omit the coarse sugar topping. This will help balance the flavors and let the raspberries shine.
In this blog post, I covered how to make scones from start to finish. We explored the ingredients, mixing techniques, baking steps, and serving tips. I also shared ways to enhance flavor and avoid common mistakes. Remember, you can get creative with flavors and adjust for specific diets. Storing and reheating your scones will keep them fresh. Enjoy making scones that taste great and have endless possibilities! Happy baking!


