
If you’re seeking a delightful treat, Raspberry Lemon Scones are a perfect choice. This simple recipe combines bright lemon and sweet raspberries for a tasty bite. I’ll guide you through each step, from gathering ingredients to baking those perfect scones. Plus, I’ll share tips and clever variations to suit your taste. Get ready to impress your friends with these light and fluffy scones that are easy to make!
Why I Love This Recipe
- Bright and Zesty Flavor: The combination of fresh raspberries and lemon zest creates a refreshing and vibrant taste that is perfect for any occasion.
- Easy to Make: This scone recipe requires minimal effort and time, making it a great choice for both beginner and experienced bakers alike.
- Perfect Texture: These scones are wonderfully flaky and light, thanks to the cold butter and buttermilk, ensuring a delightful bite every time.
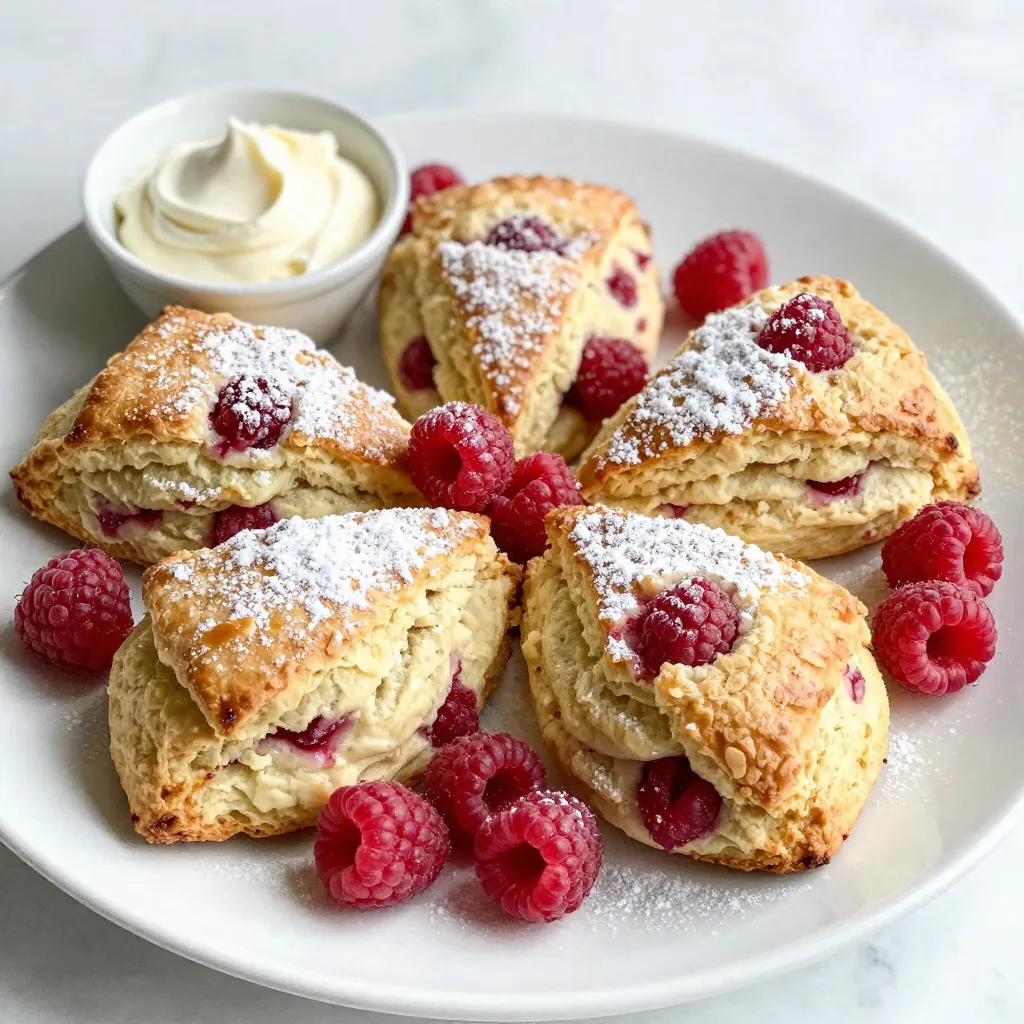
- Versatile Serving Options: Serve them warm with a dusting of powdered sugar, clotted cream, or lemon curd for an extra special treat!
Ingredients
List of Ingredients
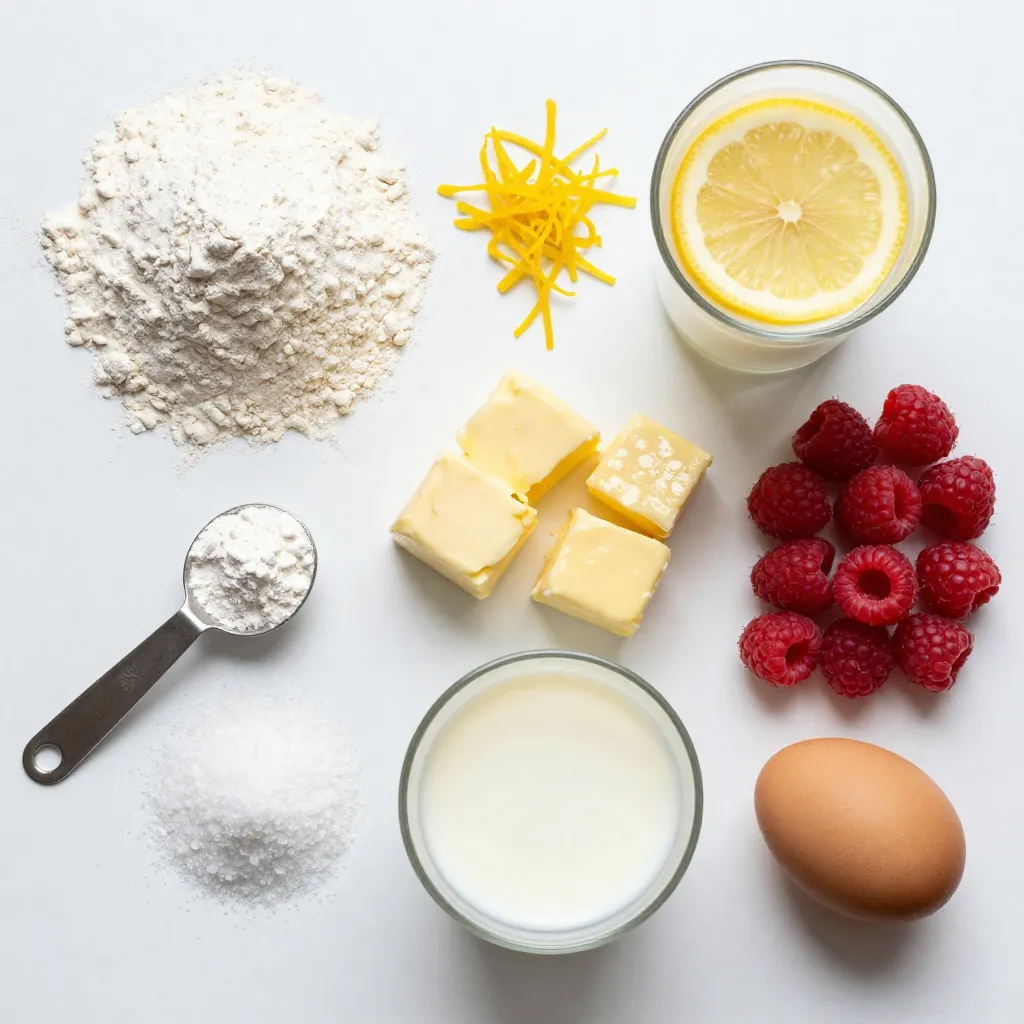
– 2 cups all-purpose flour
– 1/2 cup granulated sugar
– 2 teaspoons baking powder
– 1/2 teaspoon baking soda
– 1/4 teaspoon salt
– Zest of 1 lemon
– 1/2 cup unsalted butter, cold and cubed
– 3/4 cup buttermilk (or milk with 1 tablespoon lemon juice)
– 1 cup fresh raspberries
– 1 egg, for egg wash
Description of Ingredient Functions
Each ingredient plays a key role in making these scones tasty.
– All-purpose flour gives structure and texture.
– Granulated sugar adds sweetness and helps with browning.
– Baking powder and baking soda are leavening agents that help the scones rise.
– Salt enhances flavor and balances sweetness.
– Lemon zest adds a bright, fresh flavor.
– Cold butter creates a flaky texture by melting during baking.
– Buttermilk adds moisture and a slight tang.
– Fresh raspberries provide bursts of flavor and sweetness.
– Egg wash gives the scones a golden finish.
Substitutes for Ingredients
If you need to swap some ingredients, here are some options:
– Use whole wheat flour for a nuttier flavor and more fiber.
– Brown sugar can replace granulated sugar for a deeper taste.
– If you don’t have baking powder, mix 1/2 teaspoon of cream of tartar with 1/4 teaspoon of baking soda.
– Yogurt or milk mixed with lemon juice can stand in for buttermilk.
– Frozen raspberries work too, but they may be softer.
– For egg wash, use milk or a dairy-free alternative to brush the tops.
Step-by-Step Instructions
Preparation of the Ingredients
Start by gathering all your ingredients. You need 2 cups of flour, 1/2 cup of sugar, 2 teaspoons of baking powder, and 1/2 teaspoon of baking soda. Don’t forget the 1/4 teaspoon of salt and the zest of 1 lemon. You will also need 1/2 cup of cold, cubed butter and 3/4 cup of buttermilk. Lastly, get 1 cup of fresh raspberries ready. Measure everything out to make the process smooth.
Mixing and Combining the Dough
First, preheat your oven to 425°F (220°C). Line a baking sheet with parchment paper. In a large bowl, mix the flour, sugar, baking powder, baking soda, salt, and lemon zest. Stir well so all the dry parts blend together. Next, add the cold, cubed butter. Use your fingers or a pastry cutter to mix until it looks like coarse crumbs. Make a well in the center and pour in the buttermilk. Stir gently until just combined. Finally, fold in the raspberries carefully, so they stay whole.
Baking Instructions and Tips
Turn the dough out onto a floured surface. Shape it into a disc about 1 inch thick. Cut it into 8 wedges or use a cookie cutter for round scones. Place them on the baking sheet. Brush the tops with the beaten egg for a nice golden color. Bake for 15 to 20 minutes. Look for a golden brown color and check with a toothpick. If it comes out clean, they are done. Let them cool for about 5 minutes on the baking sheet. Then, move them to a wire rack to cool completely. Enjoy your scones warm, dusted with powdered sugar!
Tips & Tricks
How to Achieve the Perfect Texture
To get soft and flaky scones, keep your butter cold. Use a pastry cutter or your fingers to break it up. Aim for coarse crumbs in the flour mix. Be gentle when mixing in the buttermilk. Overmixing makes scones tough. Mix until just combined.
Maintaining Flavor Balance
The zest of one lemon adds brightness to the scones. Fresh raspberries bring sweetness and tartness. You want a nice mix of flavors. Avoid using too much sugar. It can overpower the lemon and raspberries. A touch of salt helps balance the sweetness.
Common Mistakes to Avoid
One common mistake is overworking the dough. This leads to dense scones. Another mistake is not using fresh raspberries. Old or frozen berries can make the scones soggy. Lastly, don’t skip the egg wash. It gives your scones a lovely golden finish.
Pro Tips
- Use Cold Butter: Ensure the butter is very cold to create a flaky texture in the scones. You can even freeze the butter for a few minutes before cutting it into the flour.
- Don’t Overmix: When combining the wet and dry ingredients, mix just until combined. Overmixing can lead to tough scones.
- Fresh Raspberries: Use fresh raspberries for the best flavor and texture. If using frozen, do not thaw them to prevent the dough from becoming too wet.
- Brush with Egg Wash: For a beautiful golden crust, brush the tops of the scones with an egg wash before baking. This will enhance their visual appeal.
Variations
Different Fruit Options
You can swap raspberries for other fruits. Strawberries, blueberries, or blackberries work well. Each fruit adds its own flavor. Mix and match to find your favorite. The key is to keep the fruit fresh. Frozen fruit can work, but fresh gives a better taste.
Flavor Enhancements (Herbs, Spices)
Adding herbs or spices can change the taste. Try adding fresh mint or basil for a fresh twist. A pinch of cardamom or cinnamon can add warmth. Just be careful not to overpower the lemon flavor. Start with small amounts and taste as you go.
Gluten-Free or Vegan Versions
Making these scones gluten-free is easy. Use a gluten-free flour blend instead of all-purpose flour. For a vegan option, replace butter with coconut oil or vegan butter. Swap buttermilk with almond milk mixed with vinegar. Both will still give you tasty scones. Enjoy experimenting with these variations!
Storage Info
Storage Best Practices
To keep your scones fresh, store them in an airtight container. This helps retain their moisture. Place parchment paper between layers if stacking them. Keep the container at room temperature for up to two days. If you want to store them longer, consider freezing.
Reheating Tips
To enjoy warm scones again, preheat your oven to 350°F (175°C). Place the scones on a baking sheet. Heat them for about 5 to 10 minutes. This method brings back the soft texture. You can also use a microwave. Heat for about 10 to 15 seconds. Just be careful not to overheat, as they can become tough.
Freezing Instructions
You can freeze the scones before or after baking. To freeze before baking, shape the dough and cut out the scones. Place them on a baking sheet and freeze until firm, then transfer to a freezer bag. When ready to bake, add a few extra minutes to your baking time. If freezing after baking, let them cool first. Wrap them tightly in plastic wrap, then place in a freezer bag. They can last for up to three months in the freezer.
FAQs
Can I make these scones ahead of time?
Yes, you can make these scones ahead of time. Prepare the dough and shape it. Then, wrap it tightly in plastic wrap. This keeps it fresh. You can store it in the fridge for up to 24 hours. When you’re ready to bake, just add a few extra minutes to the baking time. You can also freeze the shaped scones. Just place them on a baking sheet and freeze until firm. After that, transfer them to a freezer bag. They will stay good for 2-3 months.
How can I tell when the scones are done baking?
You can tell the scones are done by their color and texture. They should turn a lovely golden brown on top. Insert a toothpick into the center of a scone. If it comes out clean, the scones are ready. If you see wet dough on the toothpick, give them a few more minutes. The edges should feel firm, but the center can be a bit soft.
What can I serve with Raspberry Lemon Scones?
Raspberry Lemon Scones are tasty on their own. However, you can enhance your experience with a few delicious sides. Here are some ideas:
– Clotted cream adds a rich and smooth texture.
– Lemon curd brings a sweet and tangy taste.
– Fresh berries provide a burst of flavor and color.
– A drizzle of honey or maple syrup adds natural sweetness.
– You can also enjoy them with a cup of tea or coffee.
This blog post covered all you need for making Raspberry Lemon Scones. We discussed key ingredients and their roles, plus great substitutes. You learned step-by-step how to prepare, mix, and bake scones, along with essential tips for perfect texture and flavor. Variations let you get creative, whether you want different fruits or gluten-free options. Remember to store your scones properly to enjoy them later. With these insights, you’re ready to bake delicious scones that everyone will lov


