
Craving something sweet and easy? This Salted Caramel Cheesecake Dip is your answer! With creamy cheese, rich caramel, and a hint of salt, it’s perfect for parties or snack time. You can make it in minutes and serve it with fun dippers. Ready to impress your friends and family? Let’s dive into how you can whip up this tasty delight!
Why I Love This Recipe
- Easy to Make: This dip comes together in just 10 minutes, making it a perfect last-minute dessert or snack.
- Creamy and Delicious: The combination of cream cheese and salted caramel creates a rich and indulgent flavor that everyone loves.
- Versatile Dippers: Whether you choose sweet or salty dippers, this dip pairs wonderfully with a variety of options like pretzels, apples, and graham crackers.
- Perfect for Any Occasion: This dip is great for parties, movie nights, or even just a cozy night in!
Ingredients
List of Ingredients
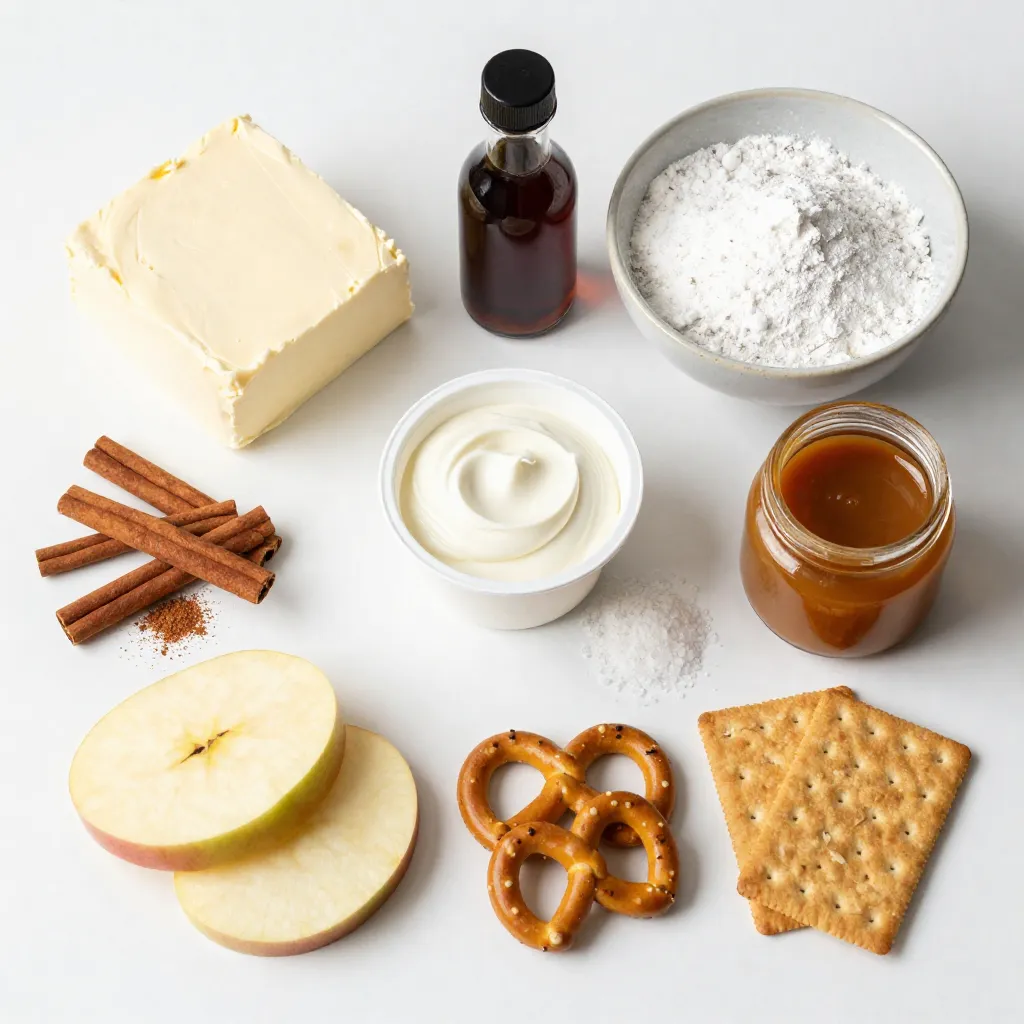
– 8 oz cream cheese, softened
– 1/2 cup powdered sugar
– 1/4 cup sour cream
– 1 teaspoon vanilla extract
– 1/2 cup salted caramel sauce, plus extra for drizzling
– 1/4 teaspoon sea salt
– 1/2 teaspoon cinnamon (optional)
– Assorted dippers (e.g., apple slices, pretzels, graham crackers)
This salted caramel cheesecake dip is easy to make. It has a mix of sweet and salty. For the best taste, use good quality cream cheese. Softened cream cheese blends easily. The powdered sugar adds sweetness. Sour cream gives it a creamy texture. Vanilla extract adds a nice flavor.
Salted caramel sauce is the star here. It gives the dip a rich taste. Use half a cup and save some for drizzling on top. Sea salt adds a touch of saltiness. The optional cinnamon can bring warmth to the dip.
You can dip many fun items! Apple slices give a crisp bite. Pretzels add a salty crunch. Graham crackers are sweet and soft. All these choices make it fun to eat. Enjoy this dip at parties or as a snack.
Step-by-Step Instructions
Preparation Steps
1. Beat cream cheese until smooth: Start with 8 oz of softened cream cheese. Use an electric mixer. Beat until it is creamy and free of lumps. This step is key for a nice texture.
2. Mix in powdered sugar: Gradually add 1/2 cup of powdered sugar. Mix until it is fluffy and well combined. This adds sweetness and a nice mouthfeel.
3. Incorporate sour cream and vanilla: Add 1/4 cup of sour cream and 1 teaspoon of vanilla extract. Mix until everything blends well. This gives your dip a rich taste.
4. Add salted caramel and sea salt: Pour in 1/2 cup of salted caramel sauce and 1/4 teaspoon of sea salt. Mix again until uniform. The salty and sweet combo is what makes this dip special.
5. Fold in cinnamon (optional): If you like, add 1/2 teaspoon of cinnamon. Gently fold it in for a warm flavor. This step adds a cozy touch.
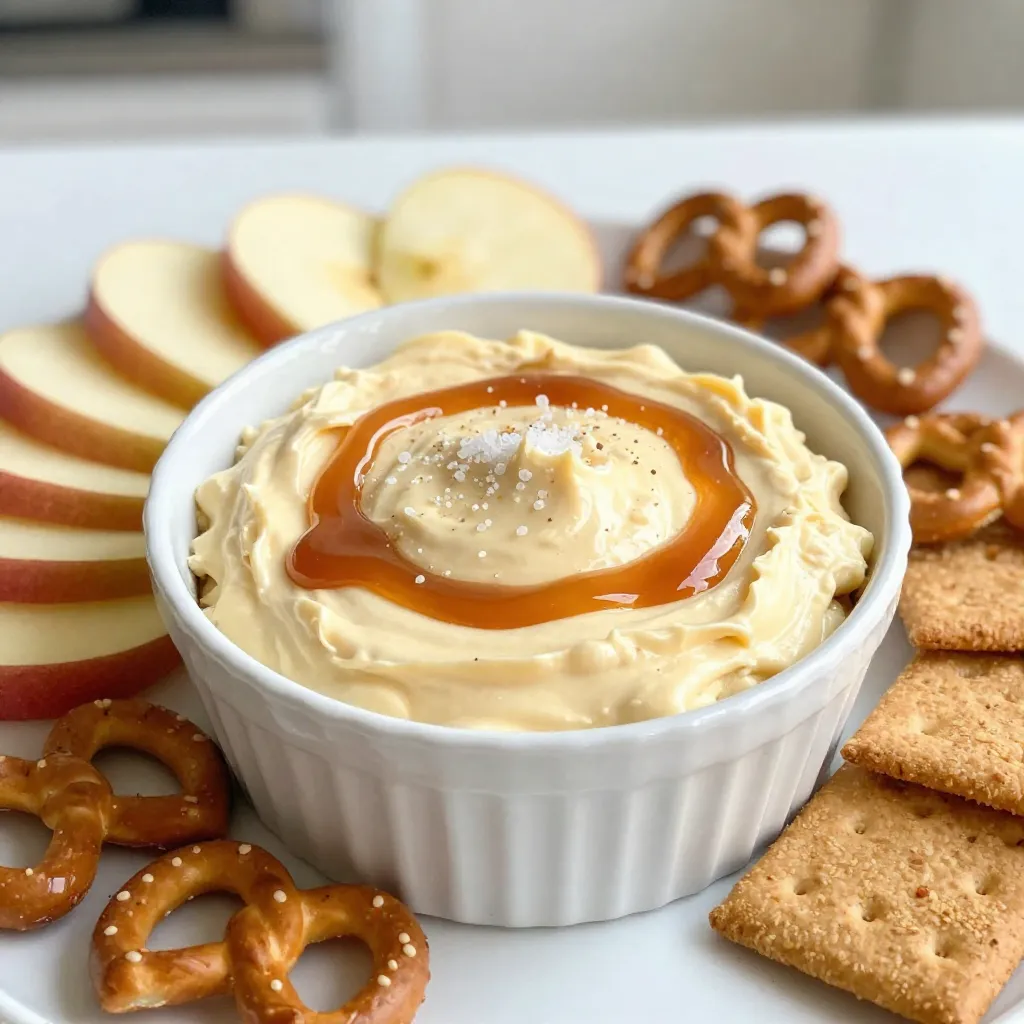
6. Transfer and drizzle with caramel: Move your dip to a serving bowl. Drizzle extra salted caramel on top for a beautiful finish. This makes it look as good as it tastes.
Now you have a delicious salted caramel cheesecake dip ready to enjoy!
Tips & Tricks
Perfecting the Dip
Choosing the right cream cheese is key. Use full-fat cream cheese for the best flavor. Light cream cheese can change the taste and texture. You want a rich base that pairs well with caramel.
To achieve a creamy texture, beat the cream cheese well. Start on low and increase the speed. This helps mix air in, making it fluffy. Add the powdered sugar slowly. Mixing gradually prevents lumps.
Adjusting sweetness is easy. If you like it sweeter, add more powdered sugar. For a less sweet dip, use less caramel sauce. Taste as you go to get it just right.
Serving Suggestions
Best dippers for this cheesecake dip include apple slices, pretzels, and graham crackers. Each adds a unique crunch and flavor. Apples give freshness, while pretzels add a salty bite.
For presentation, serve the dip in a fun bowl. Drizzle extra salted caramel on top for a pretty look. Arrange the dippers around the bowl for easy access. A colorful spread makes the dip even more inviting.
Pro Tips
- Softening the Cream Cheese: To ensure a smooth dip, let the cream cheese sit at room temperature for about 30 minutes before mixing. This helps it blend more easily with the other ingredients.
- Make it Sweeter or Saltier: Adjust the sweetness or saltiness according to your preference by adding more powdered sugar or sea salt. Taste as you go to find the perfect balance.
- Chill Before Serving: For the best texture and flavor, let the dip chill in the refrigerator for at least an hour before serving. This allows the flavors to meld beautifully.
- Variety of Dippers: Experiment with different dippers like pretzel crisps, cookies, or even fruit skewers to add a fun twist to your serving presentation.
Variations
Flavor Variations
You can change the taste of your salted caramel cheesecake dip in fun ways. Try different sauces, like chocolate or raspberry. A drizzle of chocolate sauce adds a sweet kick. For a fruity twist, mix in some fresh berries before serving.
Adding mix-ins can also make this dip special. Toss in mini chocolate chips or chopped nuts for texture. Walnuts or pecans add crunch and flavor. You can even swap in toffee bits for a caramel boost.
Spices can bring out new flavors too. A pinch of nutmeg can warm up the dip. If you like a little heat, try a dash of cayenne pepper. It adds a surprising twist.
Diet-Friendly Options
If you need gluten-free dippers, choose fresh fruit or rice crackers. Apple slices and strawberries taste great with the dip. Pretzels can be found in gluten-free options as well.
For a vegan version, you can swap cream cheese with plant-based alternatives. Look for brands made from cashews or almond milk. Coconut cream is another great choice. It gives a rich texture without dairy.
Storage Info
How to Store the Dip
To keep your salted caramel cheesecake dip fresh, store it in the refrigerator. Place the dip in an airtight container. This helps it stay creamy and tasty. If you use a glass container, it works well too. Just make sure it seals tightly.
Reheating Instructions
If you want to enjoy the dip warm, here are some tips. First, take the dip out of the fridge and let it sit for a few minutes. This helps it soften. Then, put it in the microwave for about 15 to 30 seconds. Stir it well to keep the texture smooth. If it gets too thick, add a little cream or milk. This will help bring back its lovely creamy feel.
FAQs
Common Questions
Can I make this dip ahead of time?
Yes, you can make this dip ahead of time. Prepare it and store it in the fridge. It tastes great cold or at room temperature.
How long does salted caramel cheesecake dip last?
This dip lasts about 3 to 5 days in the fridge. Keep it in an airtight container to keep it fresh.
What are some good alternatives for dipped items?
You can use many fun items. Here are some great options:
– Apple slices
– Pretzels
– Graham crackers
– Vanilla wafers
– Carrot sticks
Can I freeze the dip?
I do not recommend freezing this dip. Freezing changes the texture of cream cheese, making it grainy when thawed.
How can I make this recipe lower in calories?
To lower calories, try these tips:
– Use low-fat cream cheese
– Substitute Greek yogurt for sour cream
– Reduce the amount of caramel sauce
– Use fresh fruit for dipping instead of crackers or pretzels
This article covered how to make a delicious salted caramel cheesecake dip. We discussed the right ingredients, simple preparation steps, and helpful tips to improve texture. You learned about various dippers and ways to enhance flavor with mix-ins. Remember, you can adjust this dip to fit your needs, whether gluten-free or vegan. Enjoy this treat at parties or as a quick snack. I hope you try this recipe and share it with others. It’s a fun way to enjoy desser


