
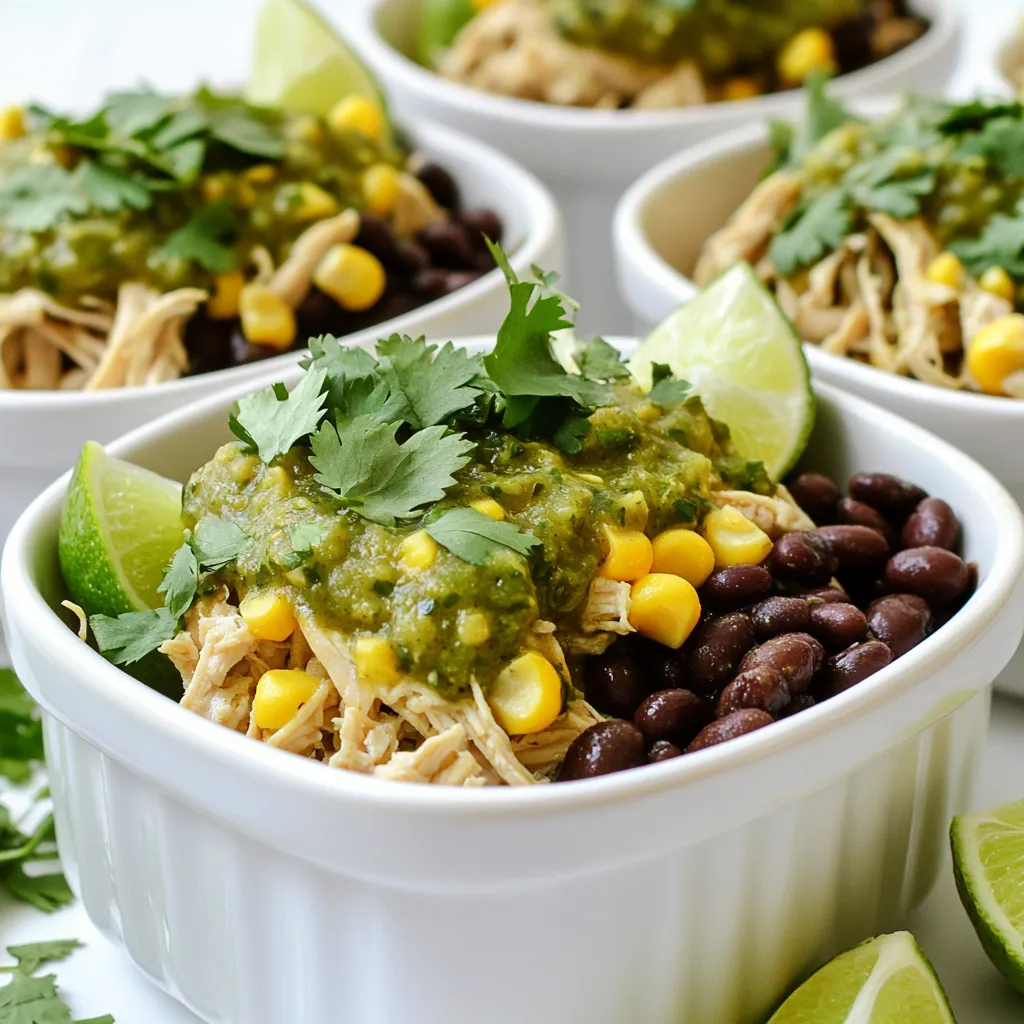
Looking for a simple, tasty meal? My Savory Slow Cooker Salsa Verde Chicken is perfect for busy weeknights. With tender chicken, zesty salsa verde, and hearty veggies, this dish is packed with flavor. You’ll find it easy to prepare and fun to serve. Let’s dive into the recipe and whip up a dinner your family will love!
Why I Love This Recipe
- Easy Preparation: This recipe requires minimal prep time, allowing you to enjoy a delicious meal without spending hours in the kitchen.
- Flavorful Dish: The combination of salsa verde, spices, and fresh ingredients creates a vibrant, flavorful meal that everyone will love.
- Versatile Serving Options: Serve it as a taco filling, over rice, or in bowls, making it perfect for any occasion.
- Healthy Ingredients: Packed with protein and fiber, this dish is a wholesome choice for a family dinner.
Ingredients
Main Ingredients
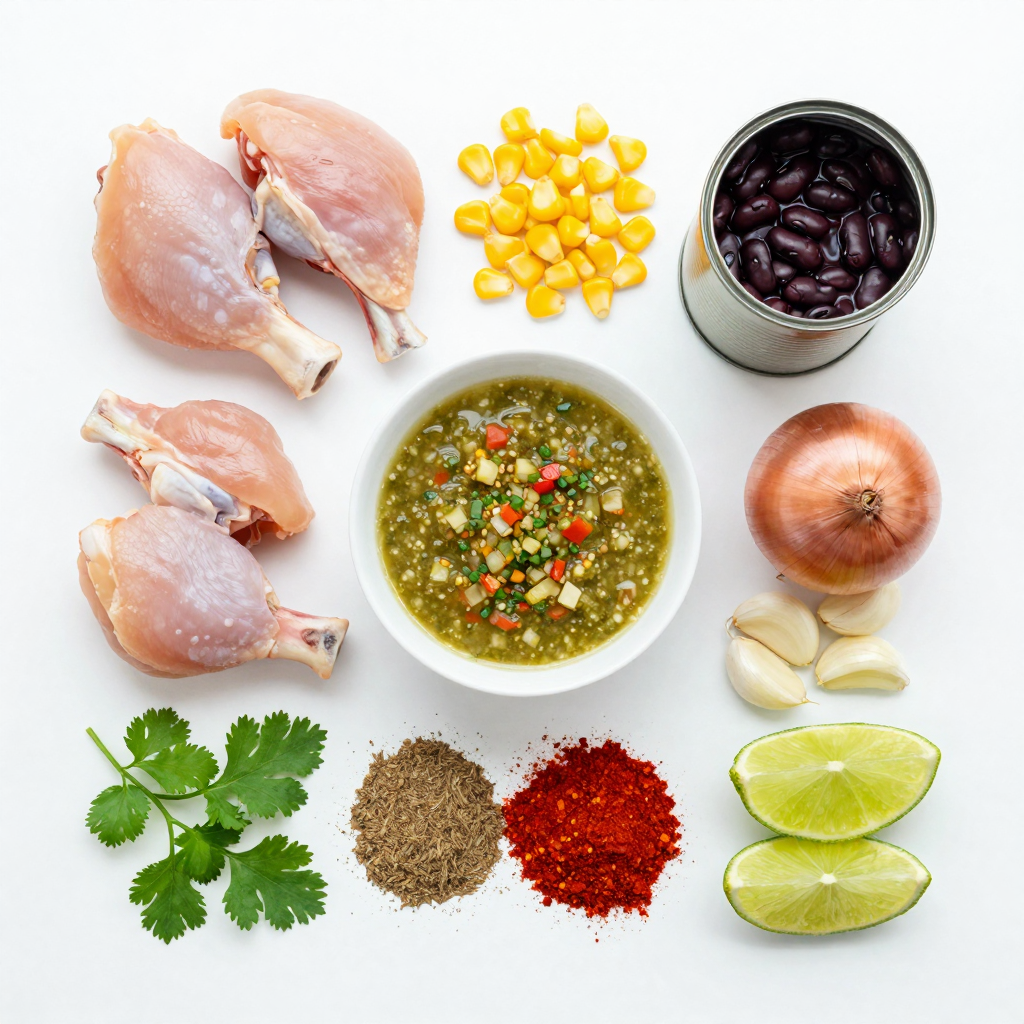
– 2 lbs boneless, skinless chicken thighs
– 1 cup salsa verde
– 1 can (15 oz) black beans, drained and rinsed
Additional Ingredients
– 1 cup corn kernels, fresh or frozen
– 1 medium onion, diced
– 2 cloves garlic, minced
Spices and Seasoning
– 1 teaspoon ground cumin
– 1 teaspoon chili powder
– 1 teaspoon lime zest
– Salt and pepper to taste
– Fresh cilantro and lime wedges for garnish
The main ingredients set the stage for rich flavors in your dish. I love using chicken thighs for their tenderness. They soak up the salsa verde and spices beautifully. Salsa verde brings a tangy kick that ties everything together. The black beans add protein and a hearty texture.
Corn kernels give a slight sweetness and color. You can use fresh or frozen corn, whichever you prefer. Diced onion and minced garlic enhance the base flavors. They create a savory aroma as they cook.
For seasoning, ground cumin and chili powder provide warmth and depth. Lime zest adds brightness and freshness. Salt and pepper help balance all the flavors. I always recommend garnishing with fresh cilantro and lime wedges. They elevate the dish and add a pop of color.
Together, these ingredients create a comforting dish that is easy to make. You’ll enjoy the process and the delicious results.
Step-by-Step Instructions
Preparing the Chicken
Start by placing the boneless, skinless chicken thighs in the bottom of your slow cooker. Make sure they fit well without overlapping. Next, pour one cup of salsa verde evenly over the chicken. This coats each piece and adds great flavor.
Adding Vegetables and Seasonings
Now, layer in the diced onion, minced garlic, drained black beans, and corn over the chicken. This mix adds texture and nutrition. Sprinkle one teaspoon each of ground cumin, chili powder, lime zest, salt, and pepper over the top. These spices bring warmth and depth to the dish.
Cooking the Chicken
Cover your slow cooker and set it on low for 6 to 8 hours or high for 3 to 4 hours. This slow cooking breaks down the chicken, making it tender and juicy. Once done, shred the chicken using two forks and stir it back into the salsa verde mixture. This step ensures every bite is packed with flavor.
Pro Tips
- Use Chicken Thighs: Chicken thighs are more forgiving than chicken breasts and stay juicy and flavorful even after long cooking times.
- Add Extra Veggies: Feel free to toss in other vegetables like bell peppers or zucchini for added nutrition and flavor.
- Shredding Technique: For easier shredding, let the chicken cool slightly before using two forks to pull it apart.
- Serving Suggestions: This dish is versatile; serve it as tacos, over rice, or as a filling for burritos or quesadillas.
Tips & Tricks
Achieving the Best Flavor
For a better taste, use homemade salsa verde. It makes a big difference. You can blend fresh tomatillos, cilantro, and lime juice for a burst of flavor. Marinating the chicken with spices before cooking adds depth. Mix ground cumin, chili powder, and a little lime zest. Coat the chicken well in these spices. Let it sit for at least 30 minutes. This step builds great flavor.
Timing Tips
Cooking time matters for the best results. If you cook on low, aim for 6 to 8 hours. For high heat, 3 to 4 hours works well. Check the chicken to ensure it’s tender. To shred the chicken, use two forks. This makes it easy to mix back into the salsa verde.
Serving Suggestions
You can serve this chicken in many ways. Try it in tacos, rice bowls, or burritos. It’s versatile and fun! For a beautiful presentation, garnish with fresh cilantro. Squeeze lime over the dish right before serving. This adds color and flavor, making your meal pop.
Variations
Ingredient Swaps
You can change a few ingredients in this dish. If you prefer, swap chicken thighs for chicken breasts. Chicken breasts are leaner but still tasty. You can also try different beans or veggies. Use pinto beans or kidney beans for a twist. For veggies, add bell peppers or zucchini for more color and flavor.
Spice Level Adjustments
Adjusting the spice level is easy. Choose between mild or spicy salsa verde. If you like heat, add jalapeños to the mix. You can also sprinkle some spice mixes for extra kick. Try using cayenne pepper or red pepper flakes. This gives you control over how spicy you want your dish.
Different Serving Styles
You can serve this chicken in many ways. It’s great over rice or quinoa for a hearty meal. You can also create tasty enchiladas or casseroles. Just layer the shredded chicken with tortillas and cheese. Bake until bubbly for a comforting dish. Each method brings a unique flavor and style to your meal.
Storage Info
Refrigeration Guidelines
Store your leftovers in an airtight container. It keeps the chicken fresh and tasty. You can keep the dish in the fridge for up to 4 days. Always check for any off smell or change in color before eating.
Freezing Instructions
To freeze the chicken mixture, let it cool first. Then, place it in a freezer-safe bag or container. Make sure to remove as much air as possible. This dish can stay good for up to 3 months in the freezer. When you are ready to eat, thaw it in the fridge overnight.
Reheating Methods
For reheating, you have a few easy options. In the microwave, heat on medium power for 2 to 3 minutes. Stir halfway through for even heating. On the stovetop, place it in a pan over medium heat. Stir occasionally until it is hot. Enjoy your meal just like fresh!
FAQs
Can I make this recipe dairy-free?
Yes, you can make this recipe dairy-free. The main ingredients do not include dairy. If you want to add a creamy touch, use avocado slices instead of sour cream. You can also skip any cheese toppings. This keeps your dish light and dairy-free.
How can I make this recipe vegetarian?
To make this dish vegetarian, substitute the chicken with plant-based proteins. You can use chickpeas, lentils, or tofu. Cook them in the same way as the chicken. The salsa verde will add great flavor, making it delicious and filling.
What can I serve with Slow Cooker Salsa Verde Chicken?
This dish pairs well with many sides. Here are some ideas:
– Rice or quinoa for a hearty base
– Warm tortillas for tacos
– A fresh green salad for crunch
– Mexican-style corn on the cob
– Chips and guacamole for a fun snack
These sides will enhance your meal and make it more enjoyable.
This recipe for Slow Cooker Salsa Verde Chicken offers simple steps and tasty results. You can use boneless chicken thighs, salsa verde, and black beans for a hearty dish. The right spices add flavor, while fresh toppings like cilantro make it pop. Feel free to swap ingredients or try different serving ideas.
Overall, this meal is easy, versatile, and great for any occasion. You can save leftovers, making it perfect for busy days. Enjoy making this dish and sharing it with family and friends!


