
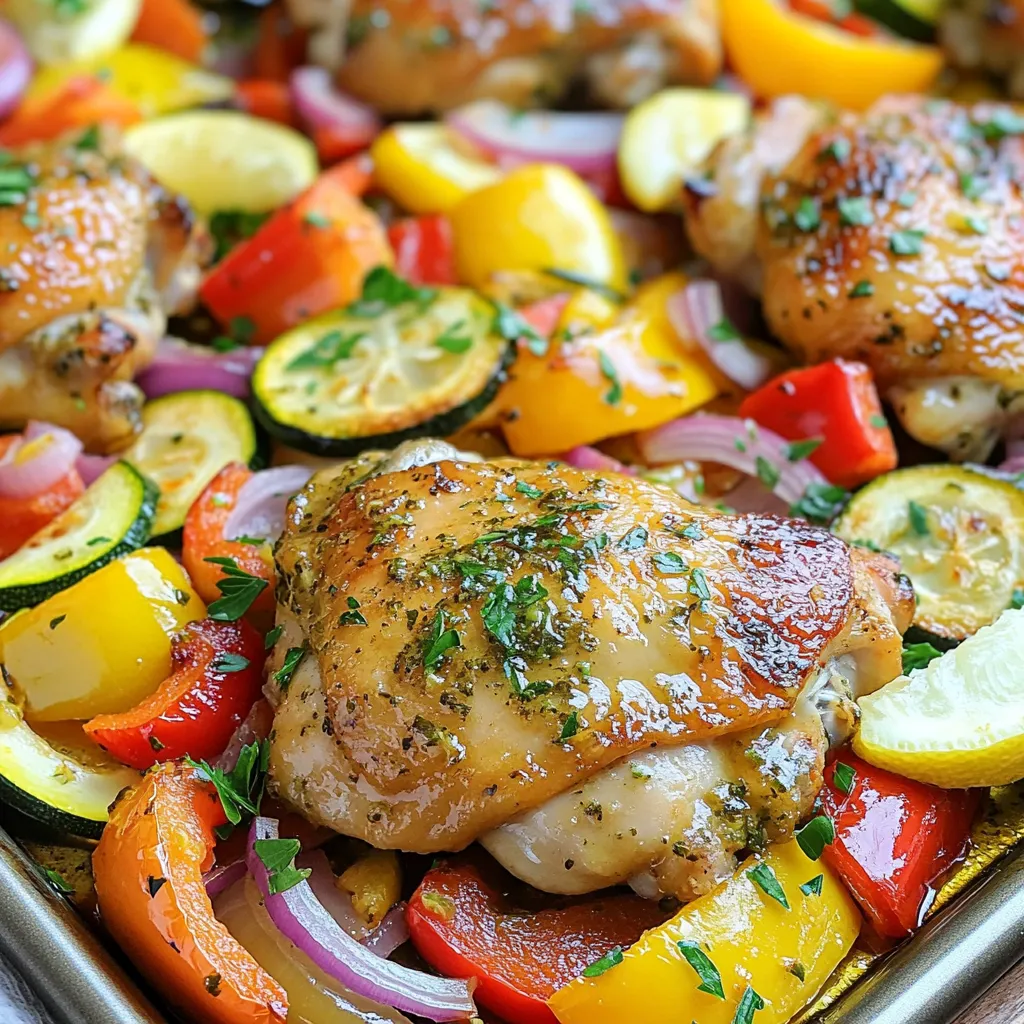
Looking for a quick and tasty dinner? Try my Sheet Pan Lemon Herb Chicken and Veggies Delight! This easy recipe combines juicy chicken thighs with fresh veggies, all baked on one pan. You’ll love the bright flavors of lemon and herbs that make dinner feel special. Plus, it’s perfect for busy nights when you want great taste without the fuss. Let’s dive into how to make this delicious meal!
Why I Love This Recipe
- Easy Preparation: This recipe is straightforward and requires minimal preparation time, making it perfect for busy weeknights.
- Flavorful Marinade: The lemon and herb marinade infuses the chicken with vibrant flavors, enhancing every bite.
- All-in-One Meal: Cooking everything on a sheet pan means less cleanup and a complete meal in one go.
- Versatile Vegetables: You can easily swap in your favorite vegetables based on what you have on hand.
Ingredients
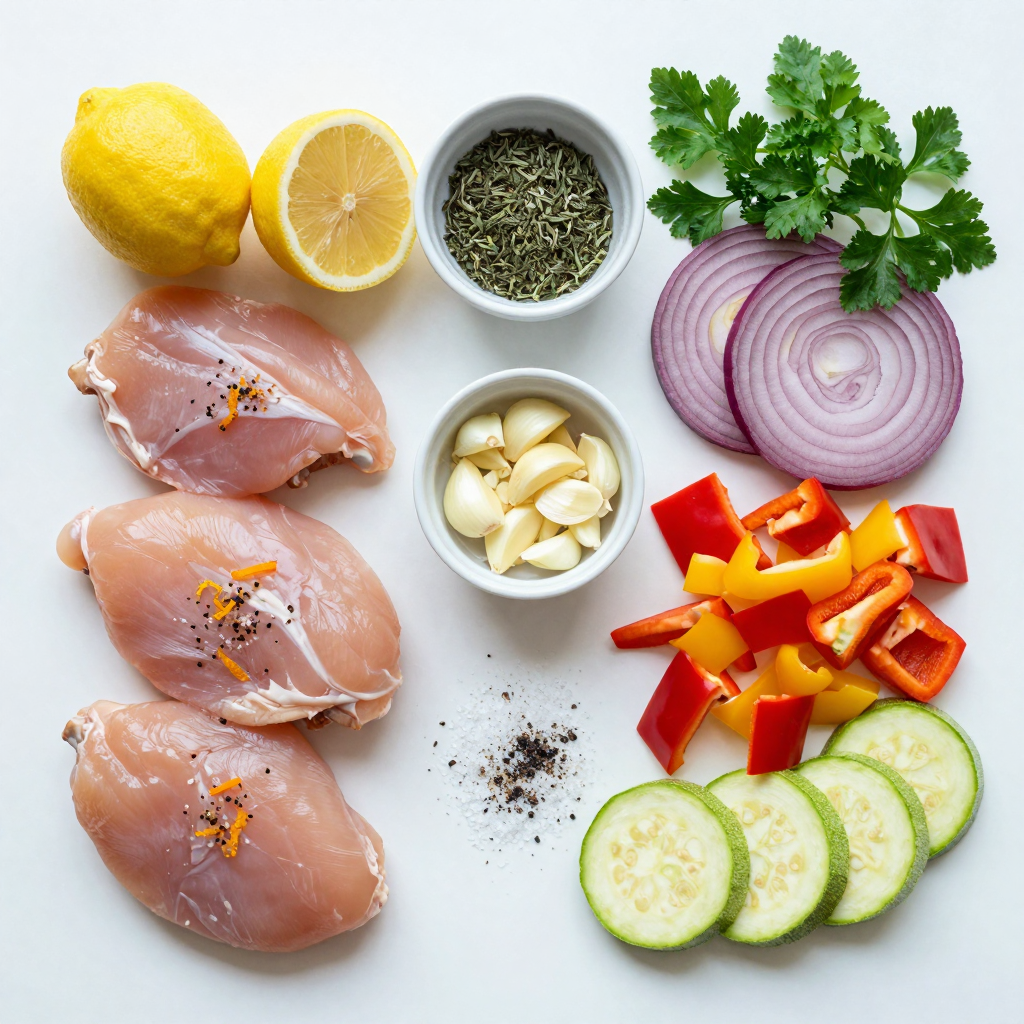
List of Ingredients
– 4 boneless, skinless chicken thighs
– 2 lemons (zested and juiced)
– 3 tablespoons olive oil
– 4 cloves garlic, minced
– 1 teaspoon dried oregano
– 1 teaspoon dried thyme
– Salt and pepper to taste
– 1 red bell pepper, chopped
– 1 yellow bell pepper, chopped
– 1 zucchini, sliced
– 1 red onion, sliced
– Fresh parsley for garnish
Notes on Ingredient Quality
Using fresh herbs and spices makes a big difference. They add bright flavors and aromas to the dish. Fresh ingredients also help to enhance the taste of the chicken and veggies. I always choose organic vegetables when I can. They tend to be more flavorful and healthier.
Substitutions
If you want to change the chicken, you can use breasts or drumsticks. Both work well in this recipe. For veggies, feel free to swap in carrots or broccoli. They roast nicely and add different tastes.
Step-by-Step Instructions
Preparation
First, preheat your oven to 425°F (220°C). This step warms up the oven for even cooking. Next, grab a large bowl. Combine the lemon juice, lemon zest, olive oil, minced garlic, oregano, thyme, salt, and pepper. Whisk it all together until it blends well. Now, add the chicken thighs to the bowl. Make sure they are well-coated in the marinade. Let them sit for at least 15 minutes. If you have time, marinate for up to 2 hours for deeper flavor.
Baking Instructions
While the chicken marinates, prepare the veggies. In another bowl, toss the chopped bell peppers, zucchini, and red onion. Drizzle with olive oil, salt, and pepper. Mix them well to coat. Now, take a large sheet pan. Arrange the marinated chicken thighs in the center. Spread the veggies around the chicken evenly. This setup ensures all ingredients cook together.
Cooking Time and Temperature
Place the sheet pan in the preheated oven. Bake for 25 to 30 minutes. The chicken should reach an internal temperature of 165°F (75°C). You can check this with a meat thermometer. The veggies should be tender and slightly caramelized. Once cooked, take the sheet pan out of the oven. Let it rest for a few minutes before serving. This helps the juices settle in the chicken, keeping it juicy and tasty.
Pro Tips
- Marinate Longer for Flavor: Allow the chicken to marinate for at least 2 hours to enhance the flavors. This will make the chicken juicier and more flavorful.
- Use Fresh Herbs: While dried herbs work well, using fresh herbs like thyme and parsley can elevate the dish and add a vibrant taste.
- Cut Vegetables Uniformly: Ensure all vegetables are cut into similar sizes for even cooking. This will help them roast perfectly and achieve the desired tenderness.
- Rest Before Serving: Let the chicken rest for a few minutes after baking. This allows the juices to redistribute, resulting in a more succulent bite.
Tips & Tricks
Marinating Tips
For the best flavor, marinate the chicken for 15 minutes at least. If you have time, let it sit for up to 2 hours. This extra time helps the chicken soak up the lemon and herbs. If you’re short on time, use a fork to poke holes in the chicken. This allows the marinade to get deeper into the meat quickly.
Cooking Tips
To avoid overcooking the veggies, cut them into similar sizes. This ensures they cook evenly. Also, remember that bell peppers and zucchini cook faster than chicken. Keep an eye on them. To ensure the chicken remains juicy, bake it until it reaches 165°F (75°C). Use a meat thermometer to check. Let the chicken rest for a few minutes after baking. This keeps the juices inside.
Presentation Tips
Serve the dish directly from the sheet pan for a rustic look. It makes for an easy cleanup and fun presentation. For extra color, garnish with fresh parsley and lemon wedges. This adds a pop of brightness and makes your meal look beautiful. Enjoy this vibrant dish with friends or family!
Variations
Flavor Variations
You can change the flavor of your dish easily. Try adding fresh herbs like basil or rosemary. They add a nice twist. You can also use spices like paprika or cumin for warmth. For a citrus twist, swap lemons for limes or oranges. Each option gives you a new taste to enjoy.
Vegetable Substitutions
Seasonal veggies can brighten up your meal. Think about using asparagus, carrots, or sweet potatoes. They roast well and taste great. You can mix and match your favorite veggies too. Just cut them into similar sizes for even cooking. This way, you get a colorful and tasty mix.
Different Cooking Methods
You can also grill your chicken and veggies for a smoky flavor. Just marinate them as usual, then place them on a hot grill. Cook until the chicken is done and the veggies are charred. If you prefer a slow cooker, add everything in the pot. Cook on low for 6-8 hours or high for 3-4 hours. You’ll have tender chicken and soft veggies with less fuss.
Storage Info
Refrigeration Tips
To store leftovers, place the chicken and veggies in an airtight container. This keeps them fresh. You can store cooked chicken and veggies for up to three days in the fridge. Make sure they cool down before placing them inside.
Reheating Guidelines
The best way to reheat this dish is in the oven. Preheat your oven to 350°F (175°C) and place the food on a baking sheet. Cover it with foil to keep it moist. You can also use the microwave, but it may dry out the chicken. Use glass or microwave-safe containers for reheating.
Freezing Instructions
You can freeze both cooked and uncooked versions of this dish. For cooked chicken and veggies, let them cool completely. Then, place them in freezer bags, removing as much air as possible. For uncooked chicken, freeze it in the marinade for extra flavor. To thaw, place in the fridge overnight before cooking or reheating.
FAQs
How to ensure chicken is cooked through?
To ensure your chicken is cooked through, check its internal temperature. The chicken must reach 165°F (75°C). This temperature kills harmful bacteria. Look for clear juices running from the chicken. No pink meat should be visible. If you see any pink, cook it a bit longer.
Can I use frozen chicken?
Yes, you can use frozen chicken, but it needs thawing first. Thaw it in the fridge overnight for best results. You can also use cold water for quicker thawing. If you cook from frozen, add about 50% more time. Always check that it reaches 165°F (75°C).
What vegetables can I add?
You can add many tasty vegetables. Here are some great options:
– Carrots
– Broccoli
– Asparagus
– Sweet potatoes
– Brussels sprouts
Each vegetable has its own cooking time. Soft veggies like zucchini cook fast. Harder ones like carrots will take longer. Adjust the cooking times as needed to keep them tender.
How do I get crispy skin on the chicken?
To get crispy skin, dry the chicken well before cooking. You can rub olive oil on the skin. Season it well with salt. For extra crispiness, switch your oven to broil for the last few minutes. Keep a close eye to avoid burning.It includes all the steps and tips to make this dish a success. Enjoy cooking!
This blog post covered a delicious chicken dish made with fresh ingredients. We discussed the necessary ingredients, their quality, and some handy substitutions. You learned step-by-step instructions for preparation and cooking, along with tips for marinating and presentation. We explored variations to customize flavors and cooking methods. Lastly, I shared storage tips and answers to common questions.
Embrace these ideas and recipes to create meals that wow. Enjoy the cooking journey!


