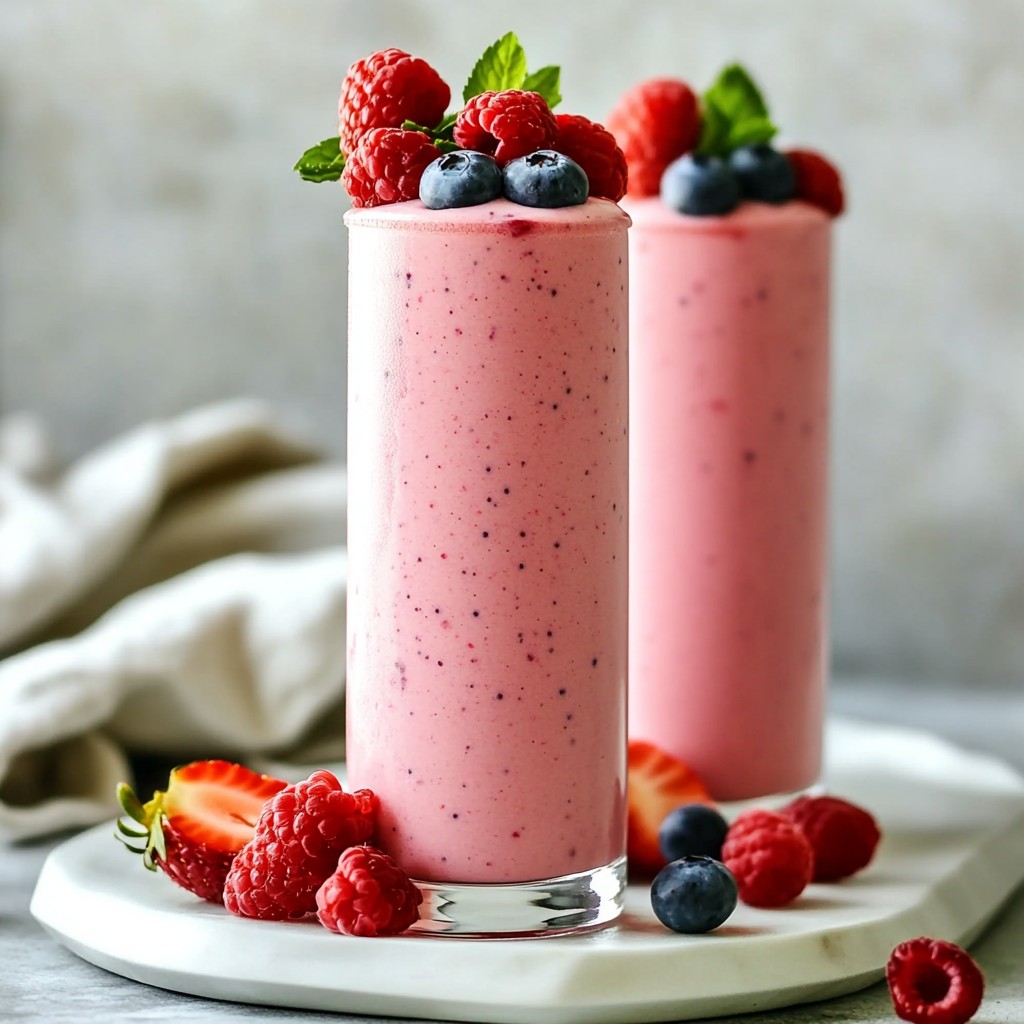
Looking for a tasty way to boost your day? Try my Strawberry Kiwi Smoothie! It’s refreshing, packed with nutrition, and super easy to make. With fresh berries, ripe kiwis, and creamy yogurt, this drink is a treat for your taste buds. Plus, I’ll share tips on how to customize it just for you. Let’s blend up something delicious and healthy!
Why I Love This Recipe
- Fresh and Fruity Flavor: This smoothie bursts with the vibrant taste of strawberries and kiwis, making it a refreshing treat any time of the day.
- Health Boost: Packed with Greek yogurt and chia seeds, this smoothie provides protein and omega-3 fatty acids, promoting overall wellness.
- Easy to Make: With just a few simple ingredients and a quick blend, you can whip up this delicious smoothie in under 10 minutes.
- Customizable: Feel free to adjust the sweetness and thickness to your liking, making it perfect for everyone’s taste preferences.
Ingredients
Fresh Ingredients
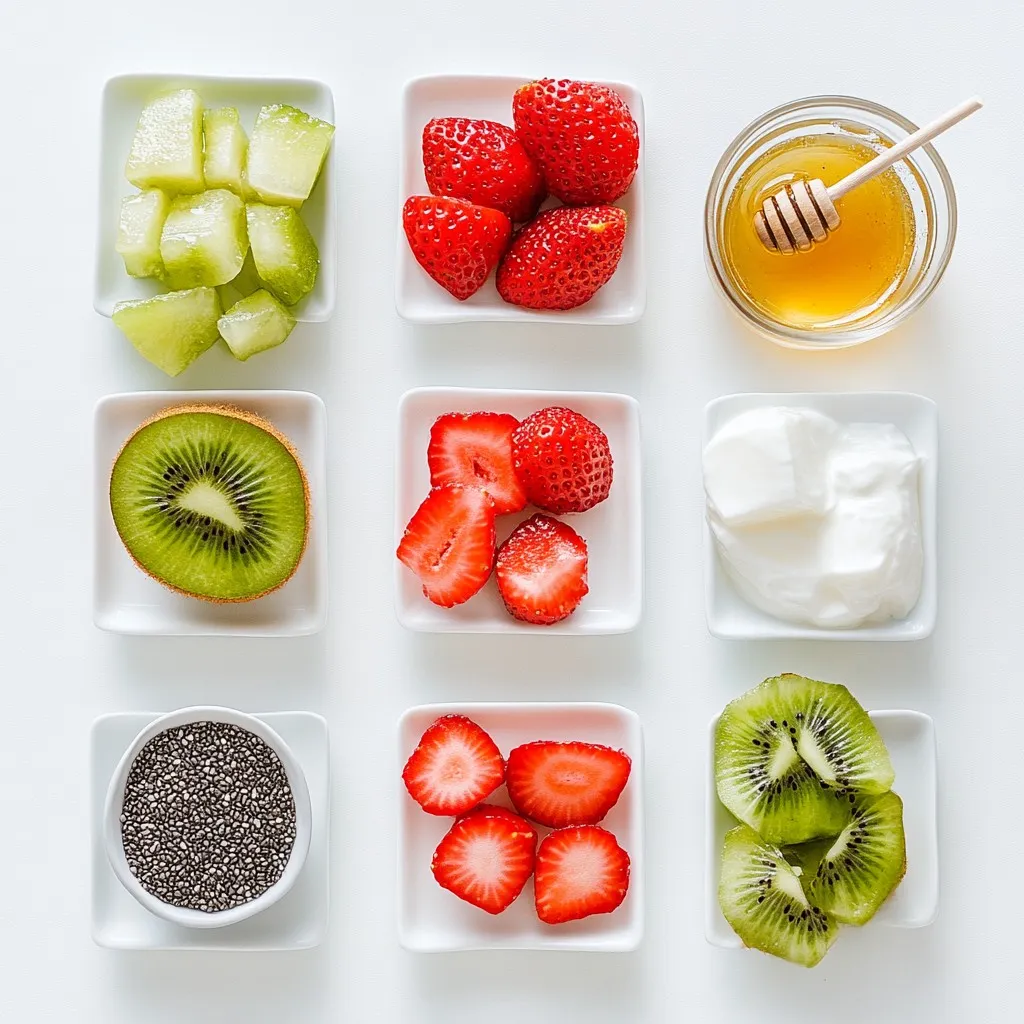
– 1 cup fresh strawberries, hulled and sliced
– 2 ripe kiwis, peeled and chopped
– 1 frozen banana
Dairy and Liquids
– 1/2 cup Greek yogurt (plain or vanilla)
– 1 cup coconut water or almond milk
Optional Additives
– 1 tablespoon honey or maple syrup
– 1 tablespoon chia seeds
– A few ice cubes
The ingredients for a Strawberry Kiwi Smoothie are simple and fresh. The strawberries give it a sweet flavor, while the kiwis add a nice tang. The frozen banana makes the smoothie creamy.
For the base, I like Greek yogurt. It adds protein and makes the smoothie thick. You can choose coconut water for hydration or almond milk for a nutty taste.
Some people like it sweeter. You can add honey or maple syrup to taste. Chia seeds are a great addition too. They pack a nutritional punch and add texture. If you want it colder and thicker, add a few ice cubes.
With these ingredients, you create a smoothie that is not only tasty but also good for you!
Step-by-Step Instructions
Preparation of Ingredients
To make this smoothie, start by preparing your fruits:
– Hull and slice the strawberries: Grab your fresh strawberries. Use a small knife to remove the green tops, known as the hulls. Then, slice them into halves or quarters, depending on your preference.
– Peel and chop kiwis: Take your ripe kiwis. Use a knife to cut off both ends. Then, gently slide the knife along the skin to peel it. Once peeled, chop the kiwis into small pieces.
– Preparing the frozen banana: If you don’t have a frozen banana, slice a ripe banana and place it in the freezer for a few hours. A frozen banana gives the smoothie a creamy texture.
Blending Process
Now, let’s blend everything together:
– Combine all ingredients in the blender: Add the sliced strawberries, chopped kiwis, and frozen banana to your blender. Next, include 1/2 cup of Greek yogurt and 1 cup of coconut water or almond milk.
– Adjust consistency and sweetness: If you want it sweeter, add 1 tablespoon of honey or maple syrup. For extra nutrition, sprinkle in 1 tablespoon of chia seeds. If you prefer a thicker smoothie, toss in a few ice cubes. Blend on high speed for about 30 seconds or until smooth.
Serving Suggestions
Finally, it’s time to serve your delicious smoothie:
– Pouring the smoothie into glasses: Once blended, pour the smoothie into chilled glasses. This keeps it cool and refreshing.
– Garnishing tips for presentation: For a fun touch, garnish each glass with a slice of kiwi on the rim and a few whole strawberries. Bright straws add an extra pop of color. Enjoy your refreshing drink!
Tips & Tricks
Achieving the Perfect Smoothie Consistency
To get the best smoothie, start with the right balance. Use enough liquid to blend the solids smoothly. For this recipe, coconut water or almond milk works well. Use about one cup.
Frozen fruit is your secret to creaminess. The frozen banana adds thickness and a nice texture. You can also freeze the strawberries or kiwis if you want a colder drink.
Sweetness Adjustment Tips
You can choose natural sweeteners like honey or maple syrup. They add flavor without overpowering the fruit. If you prefer no added sugar, that’s okay too!
Always taste your smoothie before serving. This lets you adjust the sweetness. Add a bit of honey or more fruit if it needs it.
Blender Tips
When blending, keep a few things in mind. If you have a high-power blender, everything will blend quickly. For standard blenders, you might need to stop and stir the mix. This helps ensure all ingredients blend well.
Cleaning your blender is easy. Fill it with warm water and a drop of soap. Blend for a few seconds, then rinse it out. This keeps your blender ready for the next smoothie!
Pro Tips
- Use Frozen Banana: A frozen banana not only adds creaminess to your smoothie but also helps keep it cold and refreshing. Make sure to peel and slice it before freezing for easier blending.
- Experiment with Milk Alternatives: While coconut water adds a unique flavor, feel free to try almond milk, oat milk, or any other milk alternatives to find your preferred taste and texture.
- Perfect Sweetness: Taste your smoothie before serving. If it’s not sweet enough, add a little more honey or maple syrup, but remember that the fruits also contribute natural sweetness.
- Chill Your Glasses: For an extra refreshing experience, chill your glasses in the freezer for a few minutes before pouring in your smoothie. This will help keep it cold longer!
Variations
Fruit Alternatives
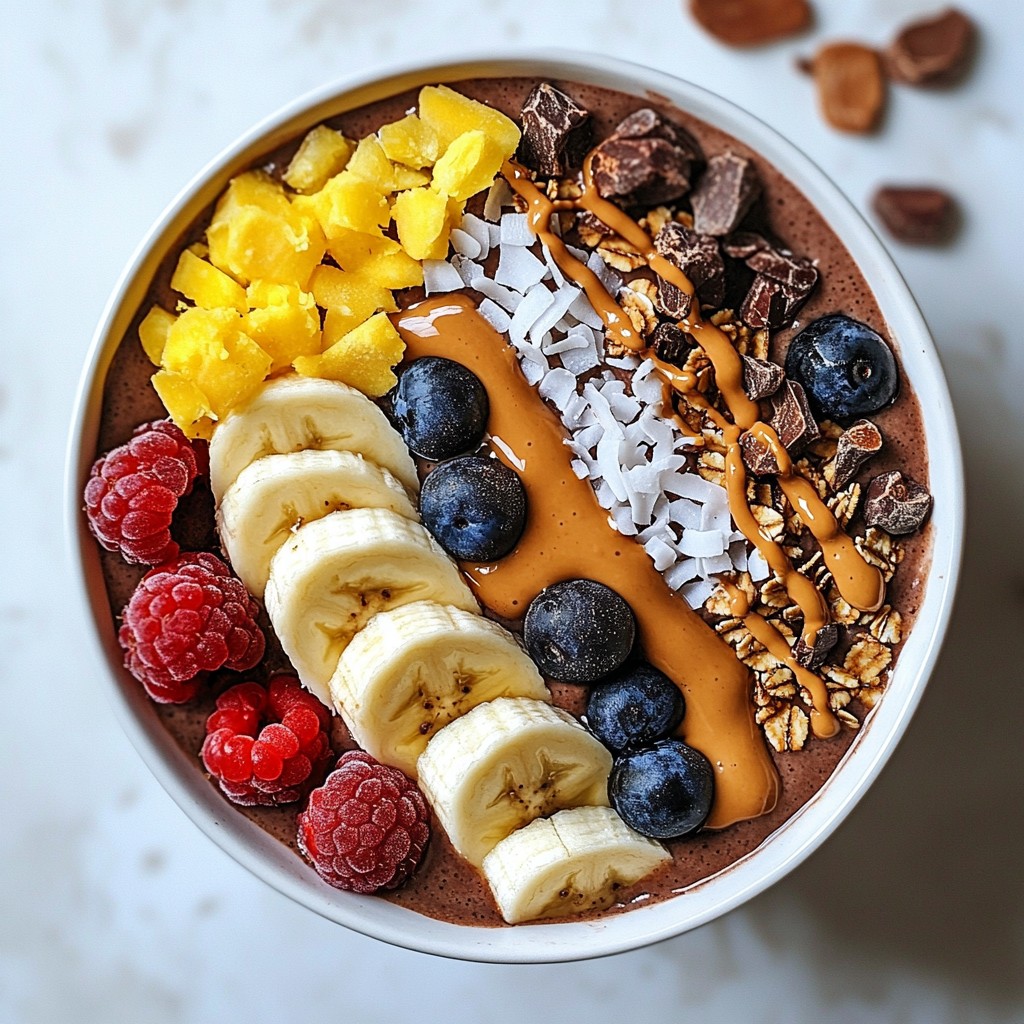
You can mix things up with other fruits. Try mango, pineapple, or blueberries. These fruits add their own yummy flavors. You can also add greens like spinach or kale. This gives your smoothie a health boost without changing the taste much.
Dairy-Free and Vegan Alternatives
If you want a dairy-free version, swap Greek yogurt for almond or coconut yogurt. These options work well and keep it creamy. For sweetness, use agave syrup or a ripe date. These vegan sweeteners are great choices for a plant-based diet.
Boosting Nutritional Value
To make your smoothie even better, add protein powder or nut butter. Peanut butter or almond butter brings flavor and protein. You can also include superfoods like flaxseeds or spirulina. These ingredients add nutrients and can help keep you full longer.
Storage Info
Storing Leftovers
After making your smoothie, you might have some left. To store it right, pour the smoothie into a clean jar. Seal it tightly and place it in the fridge. It will stay fresh for a short time. For longer storage, freeze portions in ice cube trays or small bags. This way, you can enjoy your smoothie later.
Shelf Life
In the fridge, your smoothie stays good for about one day. If it looks or smells off, it’s best to toss it. Signs to look for include separation or an odd color. When you notice these, it’s time to let it go.
Rejuvenating a Day-Old Smoothie
If your smoothie thickens after a day, don’t worry! Just add a splash of coconut water or almond milk. Blend it again until smooth. This will bring back its creamy texture. If the flavor is weak, add a bit more honey or syrup to brighten it up.
FAQs
How many calories are in a Strawberry Kiwi Smoothie?
A Strawberry Kiwi Smoothie has about 250 calories per serving. Here’s the breakdown:
– Fresh strawberries (1 cup): 50 calories
– Ripe kiwis (2): 80 calories
– Frozen banana (1): 105 calories
– Greek yogurt (1/2 cup): 60 calories
– Coconut water (1 cup): 50 calories
– Honey or maple syrup (1 tablespoon): 60 calories (optional)
– Chia seeds (1 tablespoon): 58 calories
Total calories can vary based on added ingredients. Adjust the yogurt or sweetener for fewer calories.
Can I make this smoothie ahead of time?
Yes, you can prep ingredients ahead. Here are some tips:
– Slice strawberries and kiwis: Store in an airtight container in the fridge for up to 2 days.
– Freeze banana: Peel and chop the banana, then keep it in a freezer bag.
– Measure yogurt and liquids: Combine in a separate container. Add these when blending.
Mix everything when you’re ready to enjoy. This keeps your smoothie fresh and tasty.
What can I add to increase protein content?
To boost protein, consider these options:
– Protein powder: Add a scoop to the blender.
– Nut butter: Almond or peanut butter adds flavor and protein.
– More Greek yogurt: Use up to a full cup for extra creaminess and protein.
– Cottage cheese: This adds creaminess, too.
These options make your smoothie filling and nutritious.
In this blog post, I shared how to create a delicious Strawberry Kiwi Smoothie. We explored fresh ingredients, step-by-step instructions, and helpful tips for perfecting your blend. Remember, you can easily adjust flavors and ingredients to suit your taste. Don’t forget about variations and storage options to make this smoothie work for you. Whipping up this vibrant drink is fun and simple, so enjoy experimenting with your favorite fruits and superfood