
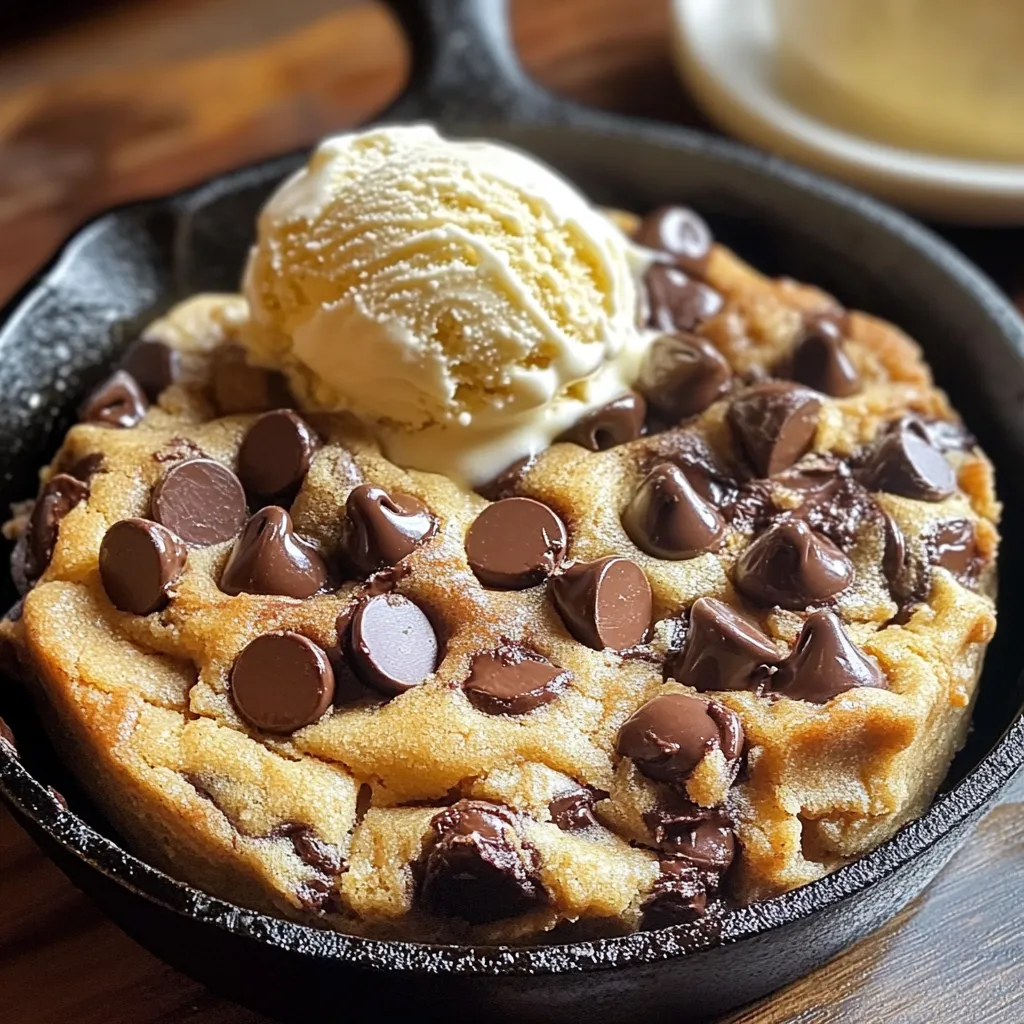
Are you craving something sweet that won’t ruin your diet? Look no further! This Vegan Chocolate Chip Cookie Skillet Delight is the answer. With a chewy center and a crispy edge, it delights every bite. You’ll find simple ingredients like almond flour and coconut sugar, making it easy and fun to whip up. Join me as we create this guilt-free treat that’s perfect for sharing—or keeping all to yourself!
Why I Love This Recipe
- Deliciously Indulgent: This vegan chocolate chip cookie skillet is a warm, gooey delight that satisfies any sweet tooth without compromising on plant-based values.
- Easy to Make: With simple ingredients and minimal steps, this recipe is perfect for both novice and experienced bakers looking for a quick dessert solution.
- Customizable: Add your favorite nuts, seeds, or even dried fruits to make this skillet cookie your own, catering to various tastes and dietary preferences.
- Shareable Treat: Perfect for gatherings, this skillet cookie can be served directly from the oven, allowing everyone to dig in and enjoy a warm, shared dessert experience.
Ingredients
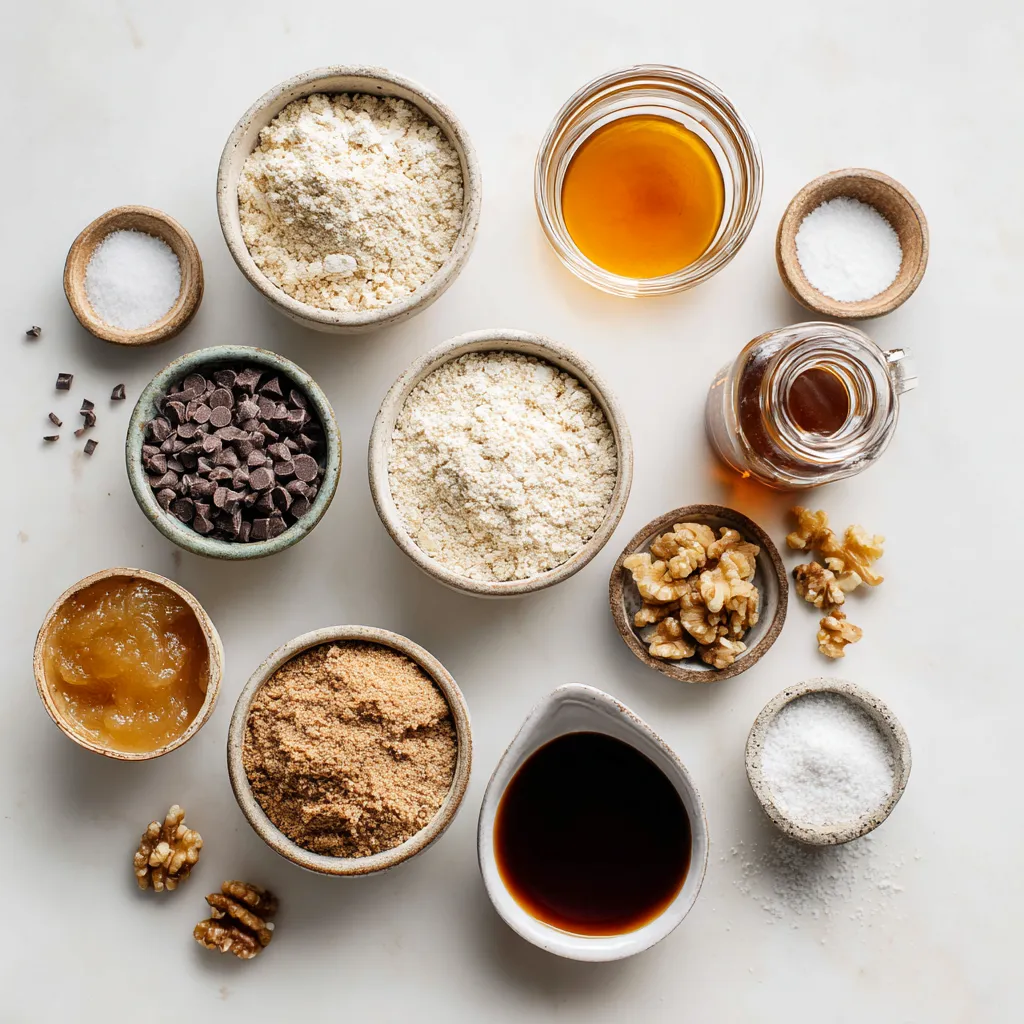
List of Ingredients
– 1 cup almond flour
– 1 cup oat flour
– 1/2 teaspoon baking soda
– 1/4 teaspoon salt
– 1/2 cup coconut sugar
– 1/3 cup maple syrup
– 1/3 cup unsweetened applesauce
– 1/4 cup coconut oil, melted
– 1 teaspoon vanilla extract
– 1/2 cup dairy-free chocolate chips
– 1/4 cup chopped walnuts (optional)
For this vegan chocolate chip cookie skillet, you need simple ingredients. Almond flour and oat flour form the base. They give a nice texture and flavor. Baking soda helps the cookie rise. The salt balances the sweetness. Coconut sugar is your sweetener, adding a rich taste. Maple syrup and applesauce keep the mixture moist. Melted coconut oil adds richness. Vanilla extract enhances the overall flavor. Dairy-free chocolate chips bring the classic taste. You can add walnuts for extra crunch if you like.
These ingredients are easy to find. You may already have some at home. Each one plays a vital role in making the cookie skillet a treat. Choosing quality ingredients helps ensure the best flavor. This recipe is great for sharing with friends and family. You can enjoy it warm from the oven. Don’t forget to have some vegan ice cream on the side!
Step-by-Step Instructions
Preparation
1. Preheat the oven: Set your oven to 350°F (175°C). This step is important as it helps the cookie bake evenly.
2. Grease the skillet: Use coconut oil to lightly grease a 10-inch cast-iron skillet. This will keep the cookie from sticking.
Mixing Dry Ingredients
1. Combine flours, baking soda, and salt: In a large mixing bowl, whisk together 1 cup of almond flour, 1 cup of oat flour, 1/2 teaspoon of baking soda, and 1/4 teaspoon of salt. This mix gives your cookie a great base.
Mixing Wet Ingredients
1. Combine coconut oil, maple syrup, applesauce, and vanilla extract: In another bowl, mix together 1/4 cup of melted coconut oil, 1/3 cup of maple syrup, 1/3 cup of unsweetened applesauce, and 1 teaspoon of vanilla extract. Make sure it’s smooth for the best taste.
Combine and Bake
1. Mix wet and dry ingredients: Pour the wet mix into the dry mix. Stir until just combined. Avoid overmixing, as this can make the cookie tough.
2. Fold in chocolate chips and walnuts: Gently add 1/2 cup of dairy-free chocolate chips and 1/4 cup of chopped walnuts, if you like. Fold them in until they are evenly spread.
3. Spread dough in skillet and bake: Pour the cookie dough into the greased skillet. Smooth out the top with a spatula. Bake in your preheated oven for 20-25 minutes. Look for lightly golden edges and a soft center.
Now, your Vegan Chocolate Chip Cookie Skillet is almost ready to enjoy!
Tips & Tricks
Baking Tips
– Bake at 350°F (175°C) for 20-25 minutes.
– Look for golden edges and a soft center.
When you bake this cookie skillet, you’ll want to keep an eye on the edges. They should turn a lovely golden brown while the center remains soft. If you bake it too long, it will lose that gooey texture we love.
Ingredient Substitutions
– Try using coconut flour or whole wheat flour.
– Use agave syrup or brown rice syrup as sweeteners.
If you don’t have almond or oat flour, don’t worry! Coconut flour works well, but you need less of it. Use about 1/3 cup. Agave syrup is another great option if you want a different sweet taste.
Serving Suggestions
– Serve warm with extra chocolate chips on top.
– Add a scoop of vegan ice cream for a treat.
I love serving this cookie skillet warm. It’s perfect with extra chocolate chips melting on top. A scoop of vegan ice cream takes it to the next level. The cold ice cream pairs so well with the warm cookie. Enjoy every bite!
Pro Tips
- Use Fresh Ingredients: Always opt for fresh coconut oil and high-quality dairy-free chocolate chips to enhance the flavor of your cookies.
- Don’t Overmix: Mix the dough just until combined to ensure your cookies remain soft and chewy rather than tough.
- Customize Your Mix-ins: Feel free to add other mix-ins like dried fruits or seeds for a unique twist on the classic recipe.
- Adjust Baking Time: Keep an eye on your skillet during baking; every oven is different, and you want to avoid overbaking for the perfect gooey center.
Variations
Flavor Variants
You can make your cookie skillet more fun by adding spices. A pinch of cinnamon or nutmeg can give it a warm flavor. You can also mix in different nuts or dried fruits. Try pecans, almonds, or even cranberries for a tasty twist. Each option adds a unique taste and texture.
Gluten-Free Option
If you want a gluten-free cookie skillet, use different flours. Almond flour and coconut flour are great choices. Just remember to adjust the amount. Gluten-free flours can behave differently, so keep an eye on the dough. It should still be thick but easy to spread.
Different Skillet Sizes
Using a different skillet size changes the baking time and ingredients. For a smaller skillet, use less dough and check it after 15 minutes. For a larger skillet, you may need more dough and a longer bake time. Always keep an eye on the edges. They should be golden brown while the center stays soft.
Storage Info
Storing Leftovers
After enjoying your Vegan Chocolate Chip Cookie Skillet, you may have some left. Store the leftovers in the fridge. First, let the skillet cool to room temperature. Then, cover it tightly with plastic wrap or transfer slices to an airtight container. This keeps the cookie fresh for up to five days.
When you’re ready to enjoy it again, reheating is easy. Preheat your oven to 350°F (175°C). Place the skillet in the oven for about 10 minutes. You can also microwave individual slices for about 30 seconds. This warms the cookie and keeps it soft.
Freezing the Cookie Skillet
If you want to save some for later, freezing is a great option. First, let the cookie cool completely. Once cool, cut it into slices. Wrap each slice tightly in plastic wrap. Then, place the wrapped slices in a freezer bag. This helps prevent freezer burn.
To thaw, remove the slices from the freezer. Let them sit in the fridge overnight or on the counter for a few hours. When you’re ready to eat, warm them up in the oven or microwave. This way, you can enjoy your vegan treat on a later day!
FAQs
Can I make this cookie skillet nut-free?
Yes, you can make this cookie skillet nut-free! Here are some great options:
– Use sunflower seed flour instead of almond flour.
– Choose oat flour, which is already nut-free.
– If you want a crunch, try pumpkin seeds instead of walnuts.
These swaps keep the cookie tasty and safe for those with nut allergies.
How do I prevent my cookie from being too dry?
To keep your cookie moist, follow these tips:
– Use unsweetened applesauce. It adds moisture.
– Don’t overmix the batter. Mix just until combined.
– Check your baking time. Remove it from the oven when the center is soft.
These steps help maintain a chewy, delicious texture.
Can I use a different sweetener instead of maple syrup?
Yes, you can swap maple syrup for other sweeteners. Here are your options:
– Agave nectar works well and adds sweetness.
– Brown rice syrup gives a mild, rich flavor.
– Coconut nectar is a great choice too.
Each sweetener changes the taste and texture a bit, so pick what you like!
This blog post covered a delicious cookie skillet recipe using simple ingredients and easy steps. We discussed how to prepare the base, mix wet and dry ingredients, and bake to perfection. I shared tips for serving and storing, as well as great variations to try.
Remember, you can customize this dish to fit your taste. Enjoy experimenting with flavors and ingredients. Whether you’re sharing it with friends or savoring it alone, this cookie skillet is sure to pleas


