
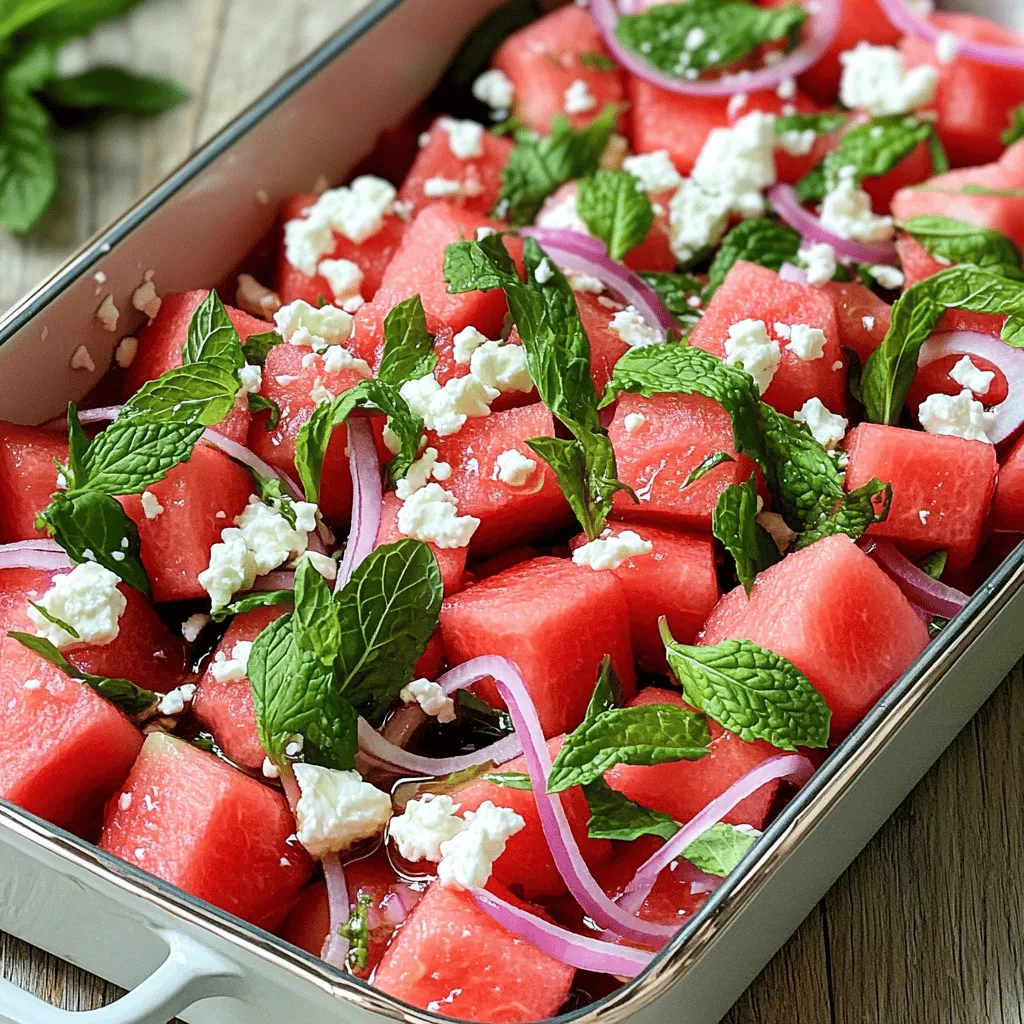
Looking for a bright, refreshing dish that dazzles your taste buds? You’ll love my Watermelon Feta Mint Salad! This colorful mix is perfect for summer gatherings or a light lunch. With juicy watermelon, tangy feta, and fragrant mint, it offers a delightful contrast of flavors. In this post, I’ll guide you through selecting the best ingredients, assembling the salad, and even some fun variations. Let’s dive in and create something delicious!
Why I Love This Recipe
- Refreshing Flavor: This salad combines sweet watermelon with salty feta, creating a vibrant flavor profile that is perfect for hot summer days.
- Easy to Prepare: With just a few simple steps and minimal ingredients, this salad comes together in no time, making it a great option for quick meals or gatherings.
- Nutritious Ingredients: Watermelon is hydrating and low in calories, while feta adds protein and calcium, making this salad a healthy choice.
- Versatile Dish: This salad can be served as a side dish, appetizer, or even a light lunch, and it pairs well with a variety of proteins.
Ingredients
Fresh Produce
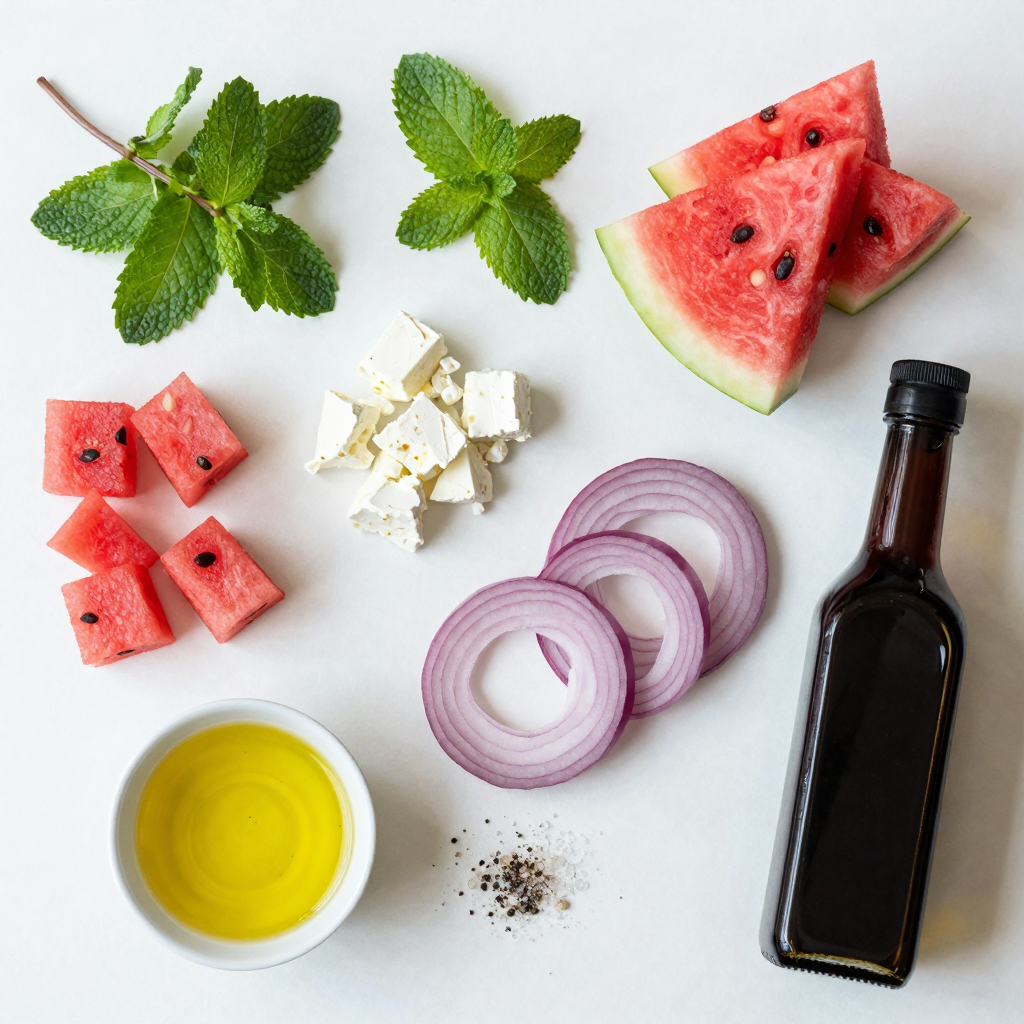
– Watermelon: Use ripe, juicy watermelon for the best taste. Look for deep green skin and a uniform shape. The best types are seedless and have a sweet aroma.
– Fresh mint: Choose bright green leaves without brown spots. To prepare, gently wash and tear the leaves. This fresh mint adds a burst of flavor to your salad.
Dairy and Condiments
– Feta cheese: Opt for creamy, crumbly feta. Look for cheese made from sheep’s milk for a richer taste. If you prefer, you can also use goat cheese for a tangy twist.
– Olive oil and balsamic vinegar: Use high-quality olive oil for a smooth finish. A good balsamic vinegar adds depth. You can also try flavored oils like lemon or herb-infused oils for a fun twist.
Seasonings
– Salt and pepper: These simple seasonings enhance flavor. Use flaky sea salt for a bit of crunch. Freshly cracked black pepper adds a nice touch, but you can skip it if you prefer milder tastes.
Step-by-Step Instructions
Preparing the Watermelon
First, pick a ripe watermelon. Look for a uniform shape and a yellow spot on its skin. This spot shows it ripened on the ground. To cube the watermelon, place it on a cutting board. Cut off both ends. Then, slice it in half lengthwise. Cut each half into long strips, about half an inch wide. Now, turn the strips and slice them again into cubes. This method is quick and keeps the cubes even. Place your watermelon cubes in a large salad bowl.
Assembling the Salad
Next, it’s time to layer the ingredients. Start by crumbling the feta cheese over the watermelon. This adds a creamy touch and salty flavor. Then, add the torn mint leaves. These fresh herbs bring a bright taste. After that, scatter the thinly sliced red onion. This gives a nice crunch and a bit of bite. Layering helps each ingredient shine through in every bite.
Dressing and Tossing
Now, let’s create the dressing. In a small bowl, whisk together the olive oil and balsamic vinegar. This mix adds a rich flavor that ties everything together. Once the dressing is ready, drizzle it over the salad. Then, gently toss the salad. Use a large spoon or spatula. Be careful not to mash the watermelon or feta. You want to keep the pieces intact. Finally, season with salt and pepper to taste. For the best flavor, let the salad sit for about 10 minutes before serving. This allows the flavors to blend beautifully.
Pro Tips
- Choose Ripe Watermelon: Make sure to select a watermelon that feels heavy for its size and has a uniform shape. A yellow spot on the rind indicates ripeness.
- Chill Before Serving: For a refreshing touch, chill the salad in the refrigerator for 30 minutes before serving. This enhances the flavors and makes for a cooler bite on hot days.
- Fresh Mint Matters: Use fresh mint leaves instead of dried for the best flavor. Gently tearing the leaves releases their essential oils, enhancing the salad’s aroma.
- Experiment with Add-ins: Feel free to add other ingredients like cucumber, avocado, or nuts for added texture and flavor. Just make sure they complement the main ingredients.
Tips & Tricks
Selecting Ripe Ingredients
To make the best watermelon feta mint salad, choose ripe watermelon. Look for these signs:
– The watermelon should feel heavy for its size.
– The skin should have a uniform shape without dents.
– Look for a creamy yellow spot where it rested on the ground.
For fresh mint, choose bright green leaves. They should smell strong and sweet. Avoid wilting or yellowing leaves, as they are not fresh.
Presentation Tips
Serve your salad in a large, shallow dish. This helps with both beauty and ease of serving. Garnish with whole mint leaves for a pop of color. You can also sprinkle extra crumbled feta on top for a nice touch. A drizzle of olive oil can add shine and flavor.
Flavor Enhancement
Let the salad sit for about 10 minutes before serving. This time helps the flavors meld together. The salt and olive oil draw out juices from the watermelon. This makes every bite delicious and refreshing. If you want to boost the flavor even more, try adding a pinch of chili flakes or a squeeze of lime juice.
Variations
Adding Extra Ingredients
You can add fun elements to your Watermelon Feta Mint Salad. Nuts or seeds give a nice crunch. Try adding:
– Sliced almonds
– Chopped walnuts
– Pumpkin seeds
These ingredients not only add texture but also boost nutrition.
You can also mix in other fruits. Juicy berries or tropical fruits work well. Add:
– Strawberries for sweetness
– Blueberries for a pop of color
– Kiwi for a tangy twist
These fruits keep the salad fresh and exciting.
Dressing Alternatives
The dressing can change the salad’s vibe completely. If you want to switch it up, try these options:
– Honey and lime juice for a sweeter touch
– Greek yogurt for creaminess
– A splash of citrus vinaigrette for brightness
Experiment with these dressings to find your favorite flavor combination.
Dietary Adjustments
Making this salad fit your diet is easy. To make it vegan, skip the feta cheese. Use avocado instead. It adds creaminess without dairy.
To make it gluten-free, you’re in luck! This salad is already gluten-free. Just ensure your dressings are free from gluten too.
These adjustments let you enjoy the salad no matter your dietary needs.
Storage Info
Best Practices for Storing Leftovers
To keep your salad fresh, use a tight container. Glass or plastic containers work well. Store it in the fridge. Aim for a temperature below 40°F. This keeps the flavors bright and the ingredients crisp.
Shelf Life
The salad lasts about three days in the fridge. After that, the watermelon can get mushy. The feta might lose its texture too. Always check for any off smells before eating.
Reusing Leftovers
If you have leftover salad, use it in other dishes. Add it to a wrap or sandwich for a tasty twist. You can mix it into a grain bowl or top grilled chicken with it. The flavors blend well and make meals exciting!
FAQs
How do I keep the salad from getting soggy?
To keep your salad fresh and crisp, you can follow a few simple tips:
– Use a melon that is not overripe. Choose a watermelon that is firm and heavy for its size. Overripe watermelon has more water and can make the salad soggy.
– Cut just before serving. Cube your watermelon right before you plan to eat the salad. This helps reduce moisture loss.
– Pat the watermelon dry. After cutting, gently pat the cubes with a paper towel. This removes excess water.
– Add dressing last. Wait to drizzle the olive oil and balsamic vinegar on the salad until you are ready to serve. This keeps the ingredients from soaking in moisture.
Can I make this salad ahead of time?
Yes, but there are best practices to ensure it stays fresh:
– Prep ingredients separately. Cut the watermelon, mint, and onion ahead of time. Store them in different containers to keep them fresh.
– Mix just before serving. Combine all the ingredients right before serving. This keeps the flavors bright and prevents sogginess.
– Dressing on the side. Keep the dressing separate until you are ready to serve. This way, your salad stays crisp.
What should I serve with Watermelon Feta Mint Salad?
This salad pairs well with many dishes:
– Grilled chicken or fish. The salad’s light flavors complement the richness of grilled meats.
– Sandwiches or wraps. Serve it alongside your favorite sandwich for a tasty lunch.
– Quinoa or couscous. These grain salads work great as a side, adding more texture and flavor.
– Cheese platter. Pair this salad with a mix of cheeses for a fun appetizer or lunch.
Enjoy your fresh and tasty delight!
This blog post explored how to create a delicious Watermelon Feta Mint Salad using fresh ingredients. We discussed selecting the best produce and dairy, along with tips for preparation. You can enhance flavors and presentation with simple tricks. Remember to store leftovers correctly for the best taste. Enjoy experimenting with different variations to keep things fresh and exciting. By following these guidelines, you will impress your friends and family with a flavorful, vibrant salad that they will love. Happy cooking!


