Are you ready to elevate your snack game? This Zesty Lemon Garlic Hummus is the creamy, flavorful dip you’ve been searching for! Packed with chickpeas, fresh lemon juice, and garlic, it’s perfect for pairing with fresh veggies or pita chips. In this post, I'll share my best tips and tricks for making this irresistible dip smooth and zesty. Let’s dive right into creating a hummus that everyone will love!
Why I Love This Recipe
- Fresh and Zesty Flavor: This hummus bursts with the bright flavors of lemon and garlic, making it a refreshing dip that elevates any snack.
- Quick and Easy: With just 10 minutes of prep time, you can whip up this delicious hummus in no time, perfect for unexpected guests or quick snacks.
- Healthy and Nutritious: Packed with protein and healthy fats, this hummus is a guilt-free indulgence that supports a balanced diet.
- Versatile Serving Options: Enjoy it with fresh veggies, pita bread, or as a spread on sandwiches; the possibilities are endless!
Ingredients
Main Ingredients
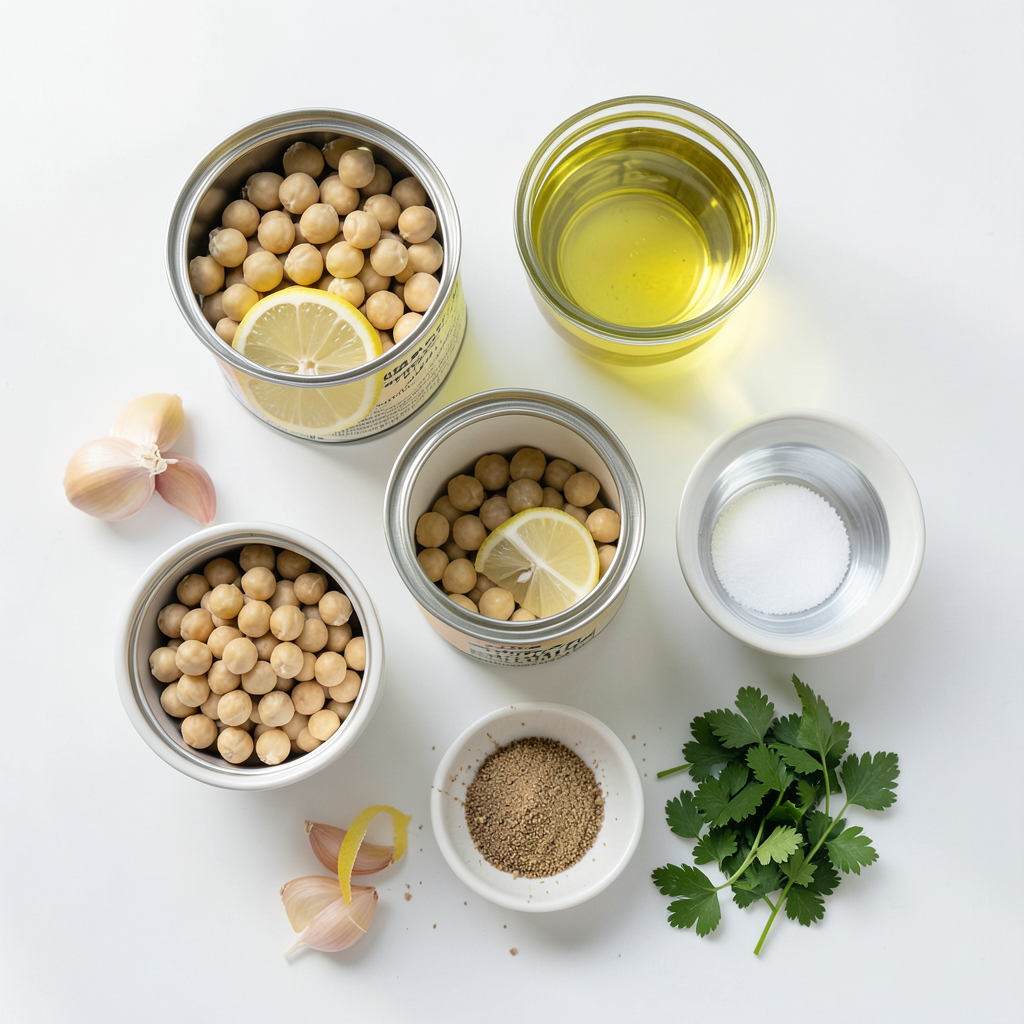
- 1 can (15 oz) chickpeas, drained and rinsed
- 1/4 cup tahini
- 3 tablespoons fresh lemon juice
Additional Ingredients
- 2 tablespoons olive oil
- 2 garlic cloves, minced
- 1/2 teaspoon ground cumin
- Zest of 1 lemon
Optional Garnishes
- Salt, to taste
- Fresh parsley, chopped for garnish
- Water, as needed for consistency
In this recipe, chickpeas form the base of the hummus. They give it a creamy texture and provide protein. Tahini adds a rich, nutty flavor. Fresh lemon juice brightens the dip, making it zesty and fresh.
Next, olive oil adds smoothness and depth. Minced garlic brings a strong flavor that pairs well with lemon. Ground cumin adds warmth and a hint of spice. Lastly, lemon zest enhances the lemon flavor and adds an aromatic touch.
For serving, you can sprinkle salt to taste. Fresh parsley makes a lovely garnish. Water helps achieve the perfect consistency. Adjust it as needed to make your hummus smooth and creamy.
Step-by-Step Instructions
Preparation Steps
- First, gather your ingredients. You will need chickpeas, tahini, lemon juice, olive oil, garlic, cumin, and salt.
- In a food processor, combine the drained chickpeas, tahini, lemon juice, olive oil, minced garlic, ground cumin, and salt.
- Secure the lid and blend the mixture until it is smooth and creamy.
Adjusting Consistency
- If your hummus is too thick, add water slowly. Start with one tablespoon at a time.
- Blend again after each addition until you reach your desired texture.
- Stop the processor to scrape down the sides. This helps mix everything evenly.
Final Touches
- Add the zest of one lemon to the hummus. This gives it a bright flavor.
- Pulse the mixture a few times to blend in the lemon zest.
- Taste your hummus and adjust the salt and lemon juice as needed. This step ensures the flavor is just right for you.
Tips & Tricks
Perfecting Texture
To make your hummus creamy, start with good chickpeas. Use canned chickpeas for ease. Drain and rinse them well. This helps remove the extra salt and gives a cleaner taste. Blend the chickpeas with tahini and olive oil. This mix makes a smooth base. If your hummus is too thick, add water a tablespoon at a time. Blend until you reach your desired texture. Scrape down the sides of the food processor to mix evenly. This step ensures no lumps remain.
Flavor Enhancements
You can elevate your hummus with spices. Ground cumin adds warmth and depth. A pinch of smoked paprika gives a nice kick. For more zing, try adding a splash of extra lemon juice. Taste as you go. Adjust the salt and lemon juice to fit your taste. This lets you customize the flavor just how you like it.
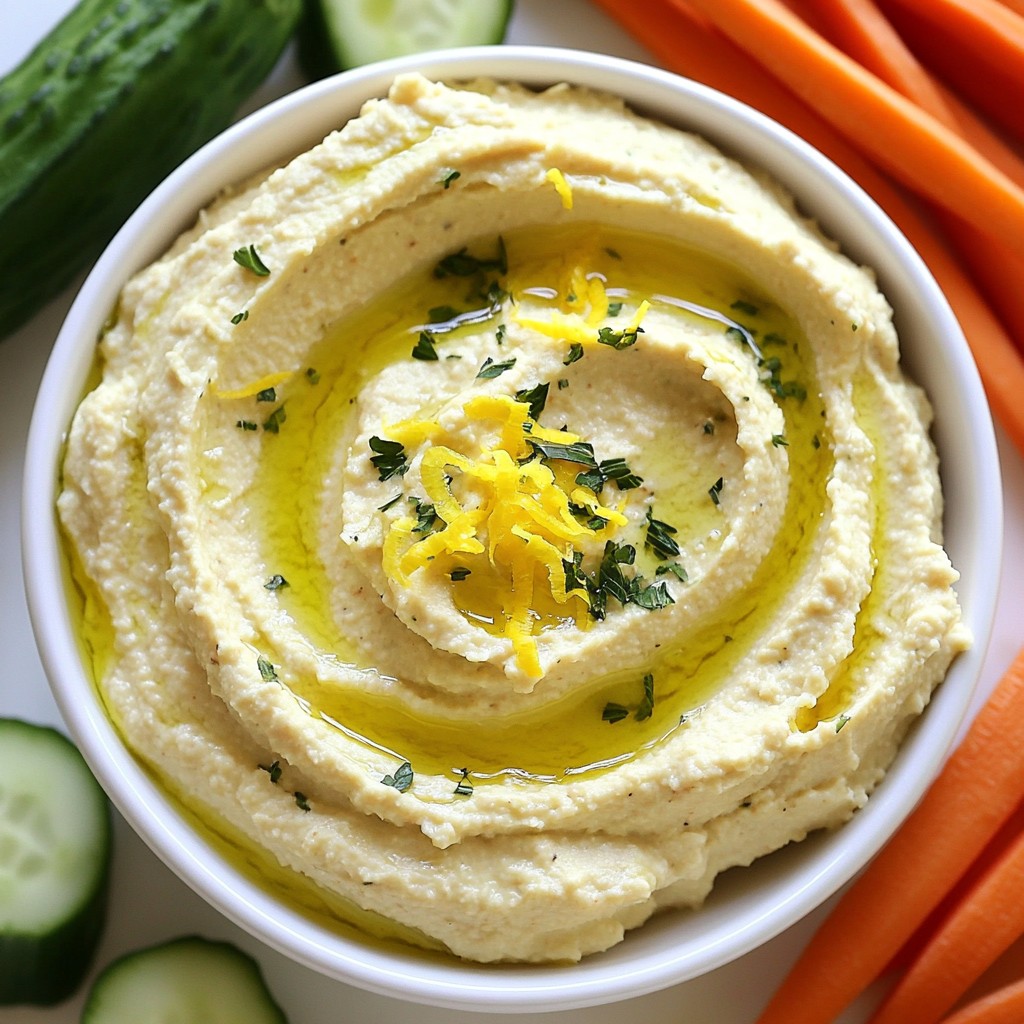
Presentation Ideas
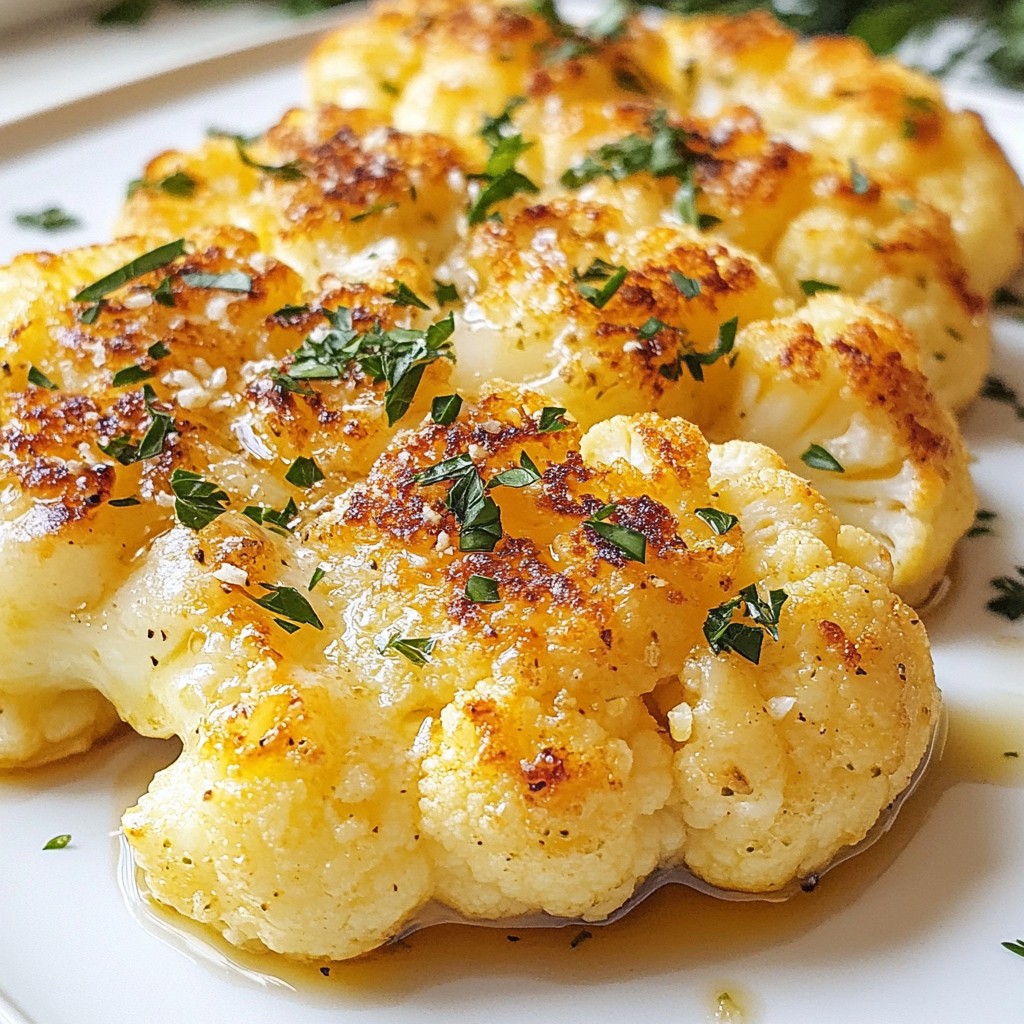
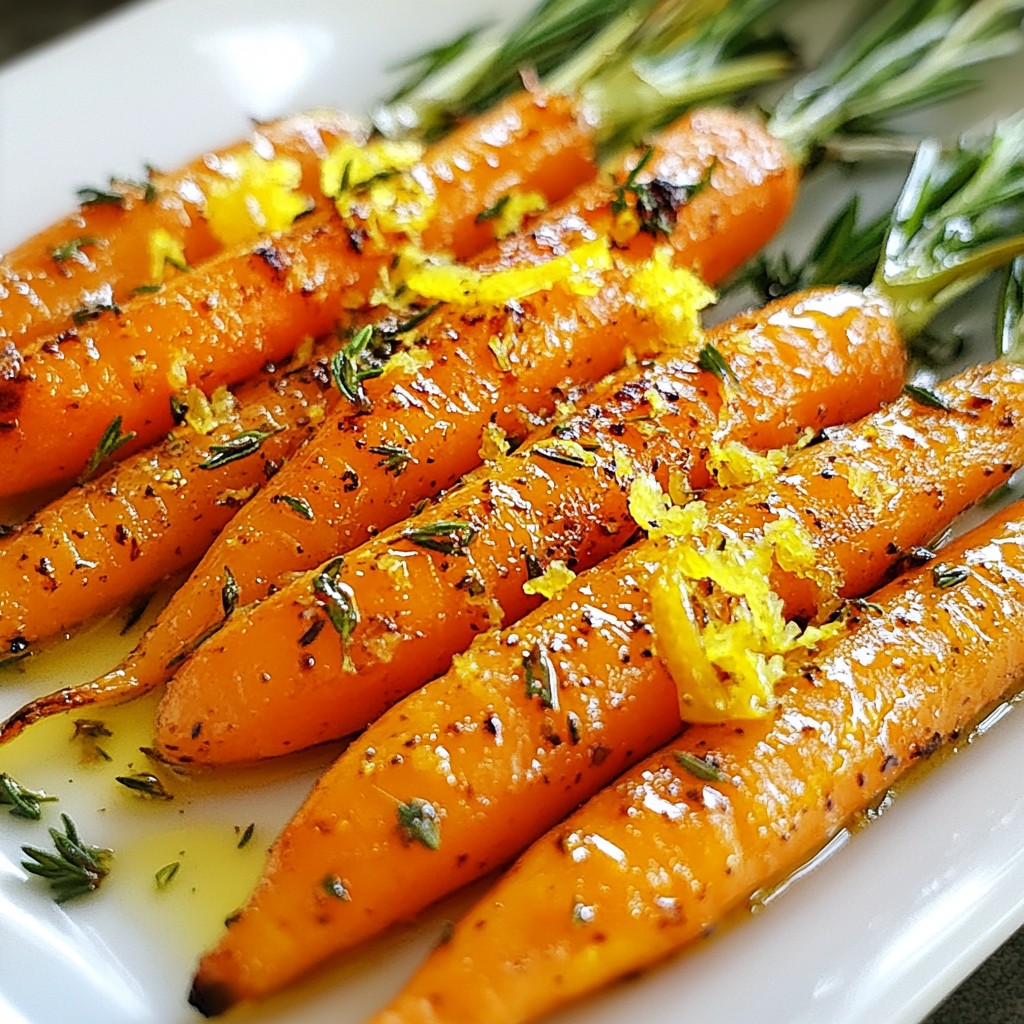
Serve your hummus in a colorful bowl. Drizzle olive oil on top for a shiny finish. Sprinkle fresh parsley for a touch of green. Pair the hummus with fresh veggies like carrot sticks and cucumber slices. You can also use warm pita bread as a dipper. This not only adds flavor but makes your spread look inviting and fun.
Pro Tips
- Use Fresh Ingredients: The flavor of your hummus greatly improves with the use of fresh garlic and lemon juice. They add a vibrant taste that can't be replicated with dried or bottled alternatives.
- Adjust to Your Taste: Don’t hesitate to tweak the salt and lemon juice to suit your personal preference. A little extra lemon can enhance the zing you desire!
- Experiment with Flavors: Try adding spices like smoked paprika or cayenne for a kick, or incorporate roasted red peppers for a smoky sweetness. The possibilities are endless!
- Storage Tips: Store any leftover hummus in an airtight container in the fridge for up to a week. To maintain freshness, drizzle a thin layer of olive oil over the surface before sealing.
Variations
Flavor Variations
You can easily change the flavor of your hummus. One simple way is to add chili flakes for a spicy kick. Just sprinkle in a little, and blend it well. This adds heat and makes your dip exciting.
Another option is to make a roasted red pepper hummus. Just blend in a few roasted red peppers with the other ingredients. This gives your hummus a sweet, smoky flavor that many people love.
Dietary Adjustments
If you follow a vegan diet, you are in luck! This hummus is already vegan. All the ingredients are plant-based. You can enjoy this creamy dip without worry.
For those who need nut-free options, this recipe is safe too. It does not use nuts or nut-based products. You can share it with friends who have allergies.
Seasonal Ingredients
Using fresh herbs can brighten your hummus. Try adding basil or cilantro for a fresh twist. Just chop them finely and blend them in. This adds a burst of flavor and color.
Consider incorporating seasonal vegetables as well. In spring, add peas or asparagus for a fresh taste. In fall, try roasted squash. These ingredients can make your hummus unique and tasty.
Storage Info
Best Storage Practices
To keep your zesty lemon garlic hummus fresh, store it in the fridge. Use an airtight container to prevent it from drying out. A glass jar or a plastic container with a tight lid works best. You can also cover the top with plastic wrap before sealing the lid. This extra layer keeps the air out.
Shelf Life
In the fridge, your hummus can last for about five to seven days. If you want to keep it longer, you can freeze it. When freezing, use a freezer-safe container and leave some space at the top. The hummus will expand as it freezes. You can store it for up to three months in the freezer.
Reheating Tips
When thawing frozen hummus, the best method is to move it to the fridge the night before. This keeps the texture nice. If you need it fast, you can use the microwave. Heat it in short bursts of 20 seconds, stirring in between. This helps it warm evenly and keeps it smooth. Always check the texture after thawing. If it seems thick, mix in a little water to get it creamy again.
FAQs
Common User Questions
How do I make hummus creamy? To make hummus creamy, blend the chickpeas well. Use a good food processor. Add water slowly for smoothness. You can also use more tahini or olive oil for richness.
What can I substitute for tahini? If you don’t have tahini, use peanut butter or sunflower seed butter. Both give a nice flavor. You can also skip it and still enjoy a tasty hummus.
Recipe Specific Questions
Can I use canned chickpeas? Yes, you can use canned chickpeas. They save time and taste great. Just drain and rinse them before using. If you prefer dried chickpeas, soak and cook them first.
How do I make hummus without a food processor? You can mash the chickpeas by hand with a fork. Then mix in the other ingredients in a bowl. A blender can also work. Just add ingredients in small batches for a smooth dip.
Serving Suggestions
What to serve with hummus? Hummus pairs well with fresh veggies like carrots, cucumbers, and bell peppers. You can also serve it with pita bread or crackers. For a fun twist, try it with chips or pretzels.
How to customize hummus for a party? To customize hummus for a party, add toppings like olives, roasted red peppers, or herbs. Serve it in a colorful bowl. Create a platter with various dippers for more fun at your gathering.
Making hummus is simple and fun! We covered the key ingredients, like chickpeas and tahini. I shared step-by-step instructions for blending and adjusting the mix. You learned tips to make your hummus creamy and tasty. We explored variations to fit your taste and diet. Lastly, we discussed storage and answered common questions to help you.
Now, get creative and enjoy making your own hummus!